
 Have you ever considered bubble photography? Have you ever tried it? If you haven’t, let me assure you that bubble photography can be extremely fun and exciting. Are you ready to learn more about it? Well, good! So, make yourself a nice cup of coffee and be prepared to learn some cool bubble photography tips and tricks.
Bubble Photography 101
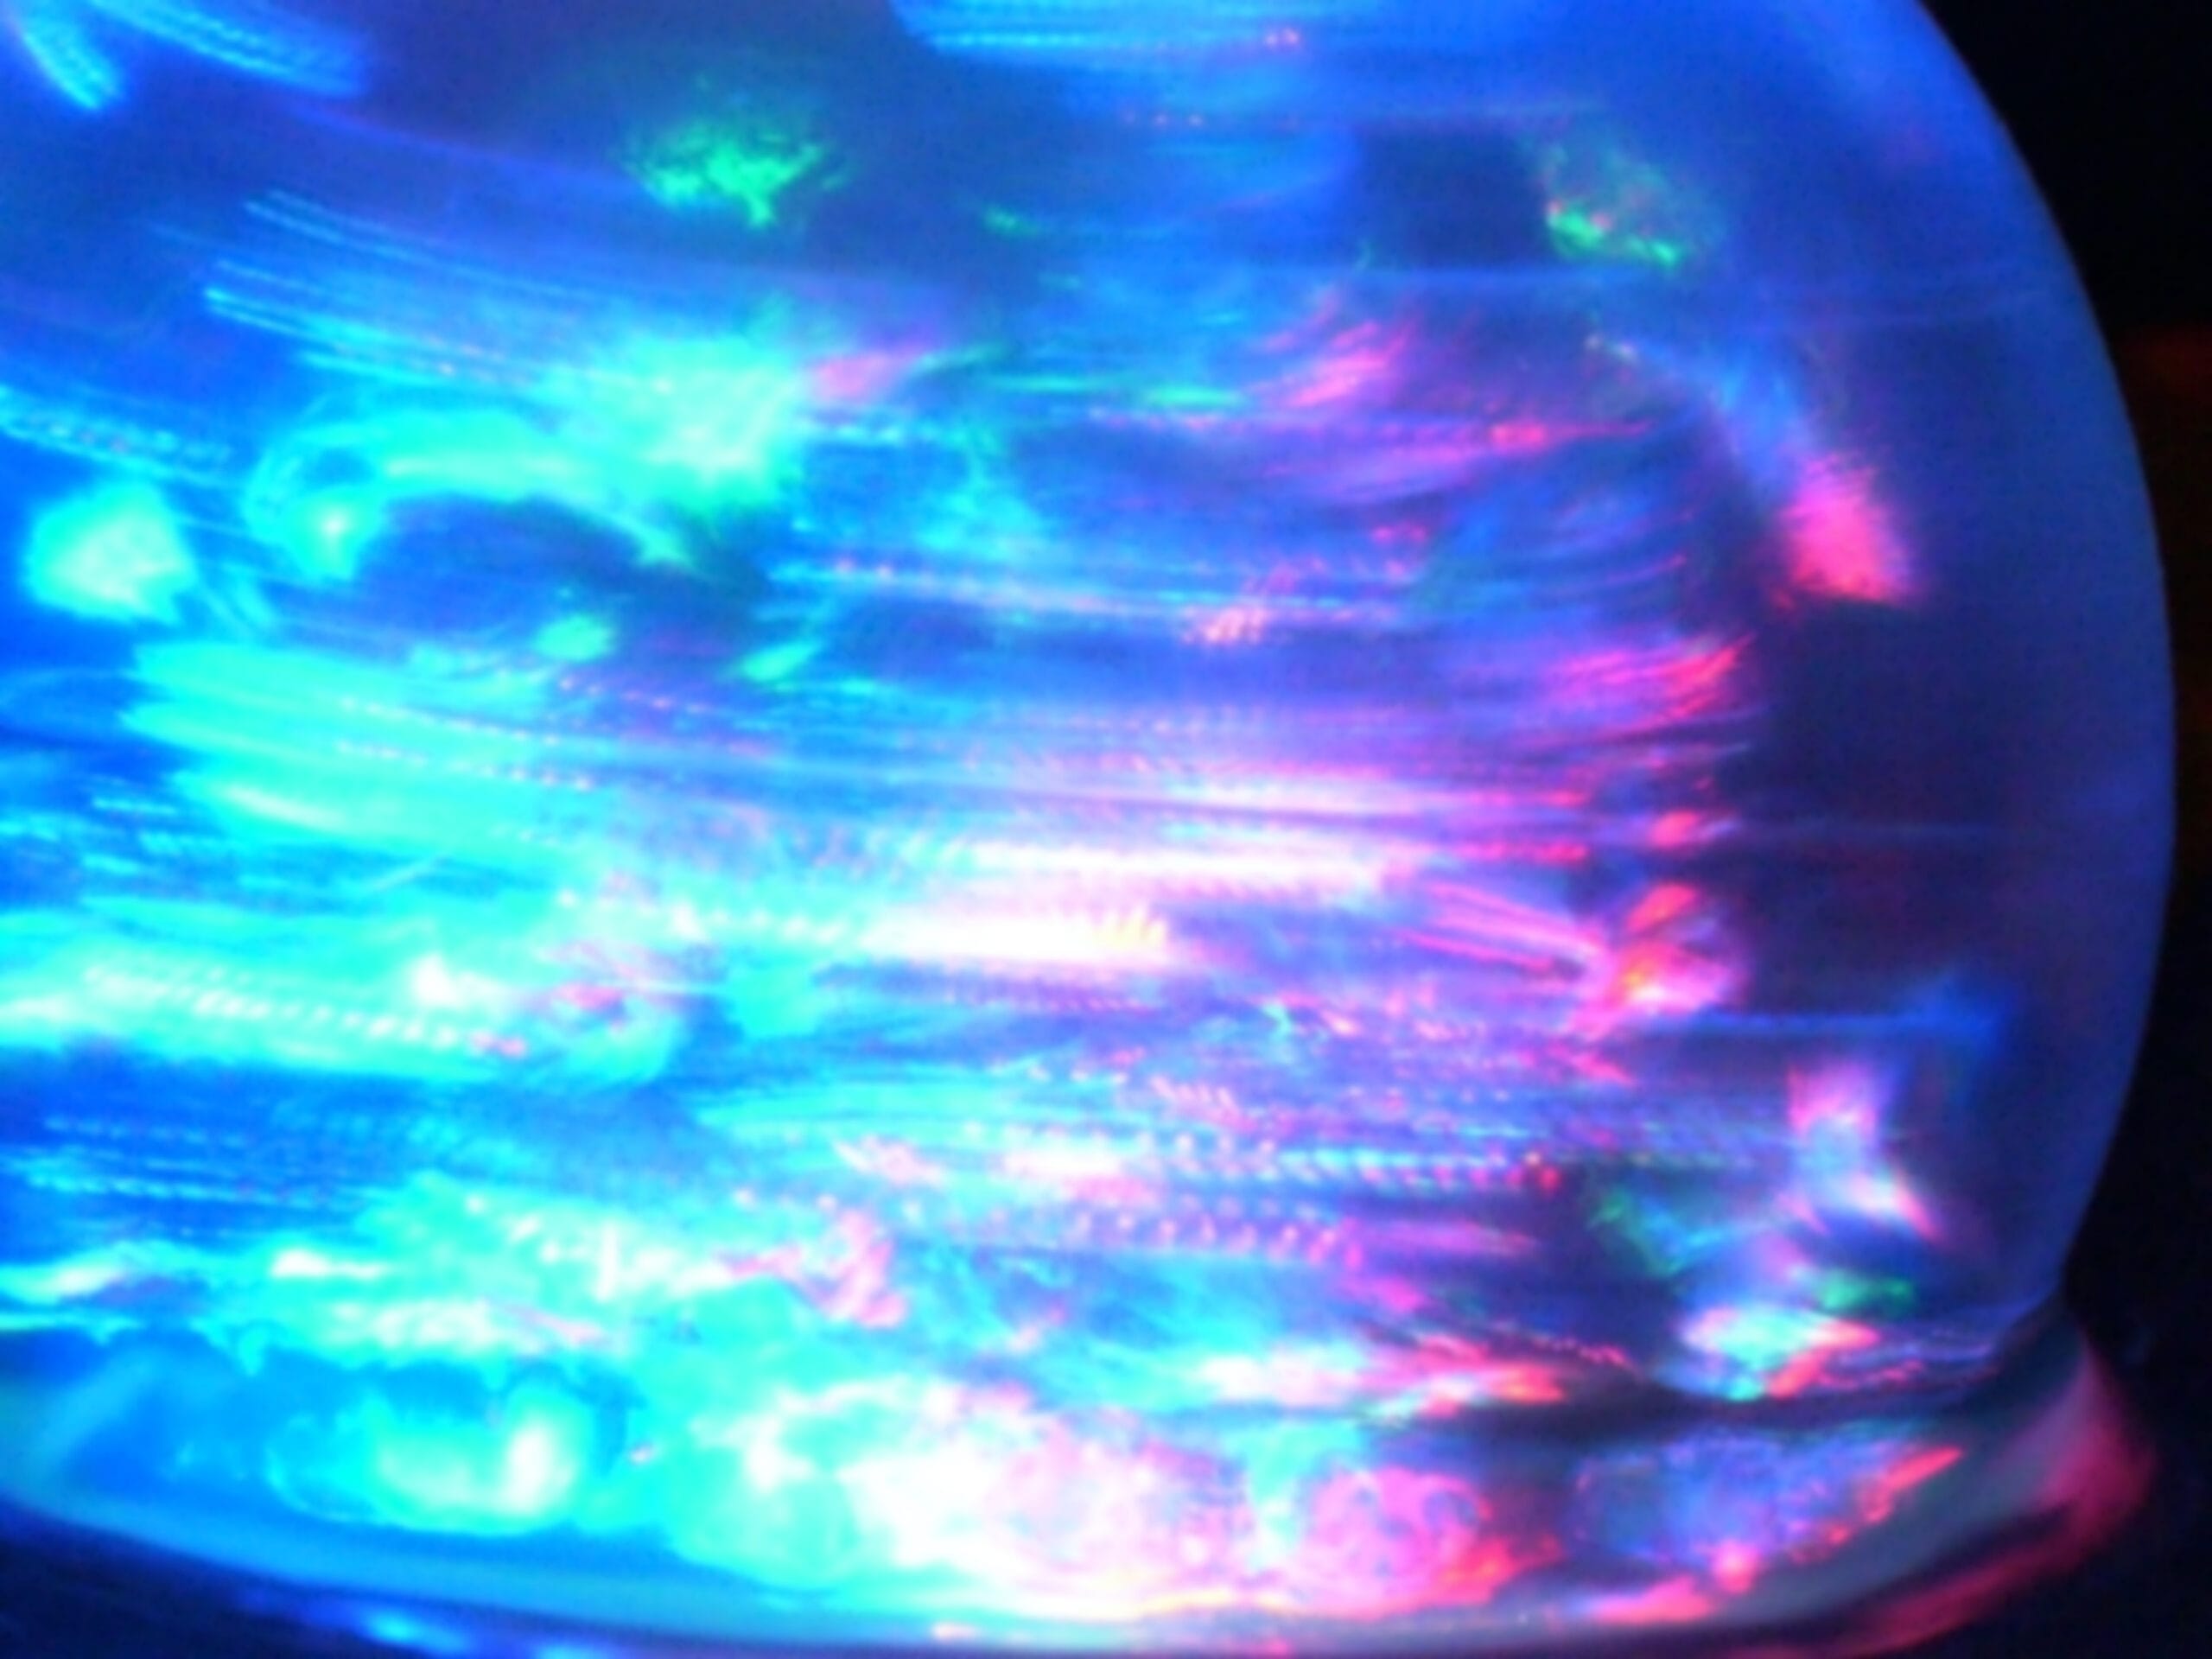
Bubbles can be a very challenging photography subject. They have this unique characteristic of distorting the background details while creating amazing illusions as light strikes them. As such, they can be a great subject for macro photography.
If you want to try your hand in bubble photography, I strongly advisable that you make your own soap bubble solution. After all, longer lasting bubbles translate to better chances of shooting great bubble photos. Just add about 200 ml of glycerine to a liter of any commercially available toy soap bubble solution or dishwashing liquid and you’ll have bubbles that last a lot longer! Simple, isn’t it?
However, as bubbles are quite unpredictable and have a very temporary nature, photographing them can be quite a challenge. So, how do you go about it? How can you take those awesome bubble photos given these limitations? Hey, don’t give up without even trying. Here are some tips that can help you get started with both indoor and outdoor bubble photography.
Some General Considerations in Shooting Bubble Photos
Whether you’re shooting indoors or outdoors, you need to follow these guidelines:
- Use a DSLR. A point and shoot camera will simply not work for this purpose. You need a camera that can give you enough control over your settings.
- Use a tripod and a shutter release. These can help you avoid camera shake so you can shoot clearer and sharper images.
- Consider using a macro lens. If you want to really close in on all the details without disturbing your subject, you should use a macro lens. No questions asked.
- Get up close and personal. Zoom in on your subject to create a more fascinating perspective.
For Indoor Bubble Photography
- Use black or any dark backdrop. Using a dark background can make the colors that are reflected on the surface of the bubble a lot more vivid and dramatic.
- Provide a light source. Some professional photographers prefer to use natural lighting while others may recommend using a properly diffused artificial light source. Some may also recommend using your flash to create even more dramatic effects. As with anything else, it’s a great opportunity for you to experiment with all these settings to determine which works best for you.
- Use the right camera settings. For best results, use the manual mode, a faster shutter release speed (at least 1/60) and a small aperture (about f/10) to catch the bubbles in action. Your ISO setting will depend on your light source and as such, the perfect setting may range anywhere between 100 and 2000. However, please remember that the higher the ISO, the more digital noise there will be.
For Outdoor Bubble Photography
- Shoot when the time is right. Shooting at sunrise or at sunset will give you better results than shooting at mid-day for a number of reasons. First, it will provide you with the best lighting conditions – a very crucial element in any kind of photography. Second, you won’t have much trouble about the wind blowing your bubbles away. And third, since the humidity is higher during these times, your bubbles won’t pop as easily.
- Take note of the proper camera settings. As with indoor bubble photography, you should shoot using manual mode. Set your camera’s aperture opening at f/5, shutter speed between 1/400 and 1/500, and ISO 400.
Mastering the art of bubble photography may be a bit tricky but once you found the techniques that work best for you, capturing great bubble photos become a lot easier. So, start perfecting your techniques right now and don’t forget to have fun while doing it!
I hope you find this post useful,
Ray Baker
Struggling to get consistent photography clients?
Get More Photography Clients