
Do you want your photos to touch people’s hearts? Stop focusing on perfect exposure. Start making moments that feel real and special.
You’ll learn what storytelling photography is. It turns simple photos into treasured memories. You’ll see how small changes in composition, timing, and approach can make a big difference.
Key Takeaways
- Storytelling photography weaves emotion, context, and detail so viewers feel the image, not just see it.
- Visual storytelling photography relies on candid moments, authentic expressions, and small gestures to reveal character.
- Emotional photography techniques include using natural light, deliberate framing, and editing that preserves mood.
- Practical photo story tips: plan a shot list, work the scene for variety, and always respect your subjects.
- A strong narrative approach often leads to repeat clients and images that act as memory windows.
Why storytelling photography matters — problem and quick fix
Images that just show a moment can be easy to forget. They might look nice and be in focus. But if they don’t touch your heart or tell a story, they’re not special.
Many photographers are shy around people or businesses. This makes them miss important moments. The solution is simple. Just be open about what you’re doing. Show your camera and let them see your photos first. Being kind can help you get into places like cafes and markets.
Beginners often focus too much on technical stuff and forget about the story. The fix is to mix both. Plan your shoot to include wide shots, action, and close-ups. This way, your photos tell a story together.
Focus on feeling more than on being perfect. Use techniques like focusing on people’s faces and the space between them. Make your subjects feel at ease. This will help you capture real moments that people will remember.
Here are some tips for your next photo shoot:
- Know what you want to capture before you start.
- Take different shots to add variety.
- Keep your photos looking good while focusing on the story.
- Tell people why you’re taking their picture.
| Common Problem | Quick Fix | Result |
|---|---|---|
| Photos look pretty but lack feeling | Plan narrative and prioritise authentic details | Images with stronger emotional pull |
| Hesitancy to approach subjects | Be sincere, keep camera visible, offer to show images | Access to genuine moments and permissions |
| Overfocus on single technical element | Maintain technical standards while planning beats | Balanced photos that tell a clear story |
| Lack of variety in shots | Capture establishing, action, and detail frames | Coherent photo story ready for sequencing |
Understanding storytelling photography: definition and core principles
Storytelling photography uses images to tell stories. It goes beyond just taking pictures. It captures real moments and feelings.
What storytelling photography is and isn’t
It’s about telling a story through pictures. A single photo can show a big change. A series of photos can tell a whole story.
It’s not just about taking posed pictures. Nor is it about being invisible all the time.
Photographers like Mary Ellen Mark and Sebastião Salgado make choices. They decide on light, crop, and wait for moments. These choices make their photos feel real.
Core principles that make images memorable
Make a plan but stay open to surprises. A shot list helps keep things on track. But being open lets in real emotions.
Try different angles and focus to add depth. Use colors and light to set the mood. Keep it simple so the viewer can connect.
Decide if you need one photo or a series. Be original and varied. Use rules of composition to guide your shots.
Be clear about why you want to take a photo. Explain your reasons when you ask permission. This builds trust and gets real moments.
Planning your photo story: goals, research, and shot lists
Start by listening. Talk with your subject and learn what matters to them. Note the emotions they share. Use these to set clear goals for your photo story.
Think about what you want the viewer to feel. Choose scenes that show character and mood. This keeps your story real and focused.
Clarify your intention and narrative arc
Define a simple arc before you start. Choose an opening scene that sets the mood. Then, pick a middle scene with action or conflict.
End with a scene that reflects or changes things. Decide on emotional beats like vulnerability or triumph. This makes your shots flow well.
Decide if your story will be closed or open. A closed story ends with answers. An open story leaves questions. Both are good for storytelling.
Practical pre-shoot prep
Scout locations and test light at the same time you plan to shoot. Look for backgrounds that support your story. Find spots for clean silhouettes or soft fills.
Plan a short shot list. Include wide frames, mid-action shots, close details, and hands or gestures. Set technical goals like lenses and autofocus modes.
Decide on exposure strategies for highlights and skin tones. Pack props or symbols if they help tell your story. But leave room for unplanned moments.
Plan a simple workflow: shoot, download, review, and refine. Beginners should focus on basics like composition and lighting. Once you have those down, add narrative devices and symbols.
| Planning Step | Action | Why it matters |
|---|---|---|
| Clarify intention | Interview subject; list emotional beats | Aligns photographer and subject; guides shot selection |
| Choose arc | Select closed or open story structure | Shapes viewer expectations and pacing |
| Location scout | Visit at shoot time; note light and backgrounds | Prevents surprises; helps craft mood with light |
| Shot list | Plan wide, mid, close, and detail frames | Ensures variety and sequencing options |
| Technical prep | Pick lenses, autofocus, exposure plan | Supports capturing decisive moments consistently |
| Props and symbols | Gather meaningful objects tied to the story | Helps visual storytelling photography make ideas clear |
| Workflow | Shoot, download, review, iterate | Improves quality and sharpens narrative choices |
Approaching and connecting with subjects — permission and presence
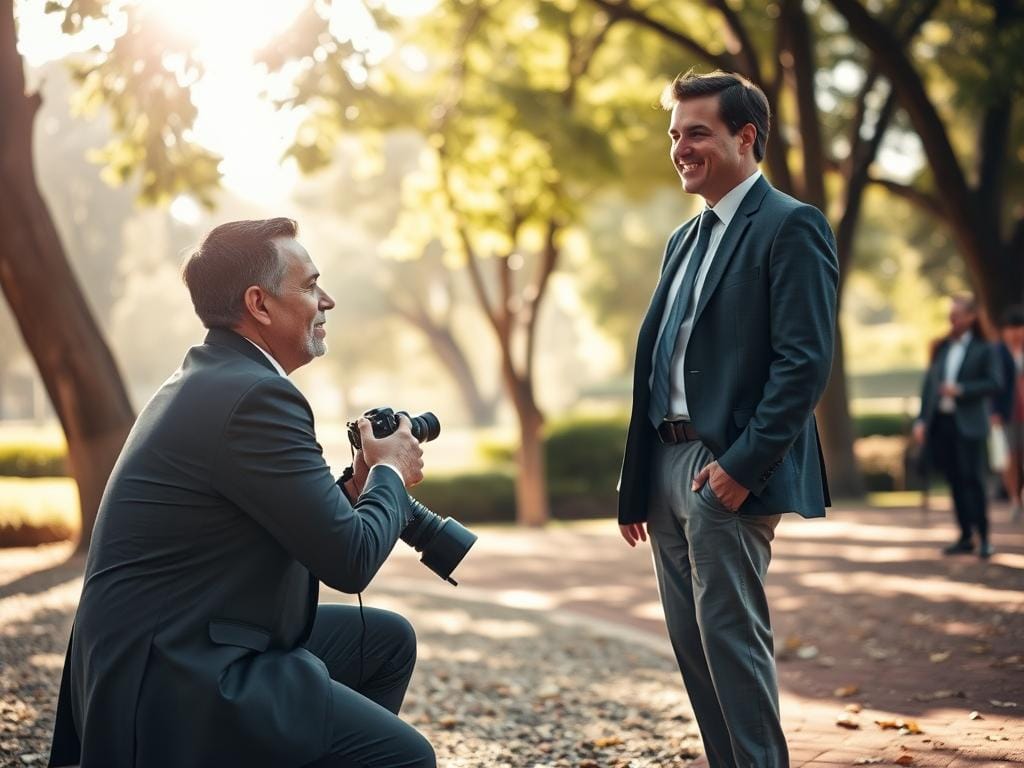
Slow down when you get there. Listen first, then explain your project. Say how you’ll use the photos. This builds trust and gets honest moments.
Be honest from the start. Say why you want to take their photo. Use a soft, quick explanation to ease their nerves.
Don’t push if they say no. Thank them and move on. A polite second ask might work, but never force it.
Act like a student when you can. Ask about their routines and memories. This makes them feel in control and gives you real moments.
Stay present and watch carefully when they say yes. Let them do their thing while you observe. This is where you capture real moments.
Here’s a tip: explain your plan, show examples, get consent, then start. Be patient and keep working. This turns polite permission into great photos.
Learn more about getting ready and listening for stories at the art of storytelling photography.
Techniques to capture emotion — candid moments, gestures, and relationships
Being there is key to capturing real feelings. Watch for moments like laughter and tears. Move in close, then back off to let people relax.
Use natural light and shadows to set the mood. They highlight small gestures too.
Learn the rhythm of a scene. Watch how people move and wait for the right moment. This way, you get real expressions, not fake smiles.
Change your lens to see things differently. This helps you focus on what’s important.
Anticipation and timing
Watch how people move before you take a photo. Guess when they’ll laugh or touch something. Use a fast shutter for quick moments.
Slow down the shutter for motion blur. It adds feeling to your photos.
Use continuous burst mode for busy scenes. Then, pause to think about your shot. This way, you get real moments and different photos.
Targets for emotional shots
Make a list of what you want to capture. Include direct portraits, candid shots, and close-ups. Also, aim for photos that show relationships.
Use selective focus to highlight emotions. Capture moments like teacher-student talks or family interactions. These are key to telling a story through photos.
Here are some tips for your photos.
| Shot Type | Purpose | Recommended Settings |
|---|---|---|
| Direct portrait | Conveys personality and invites viewer connection | Prime lens 50mm–85mm, wide aperture f/1.8–f/2.8, single-shot focus |
| Candid moment | Captures spontaneous emotion and authenticity | Continuous shooting, shutter 1/250s or faster, ISO adjusted to light |
| Gesture close-up | Highlights small actions that reveal character | Macro or short telephoto, narrow depth of field, steady hand or tripod |
| Relationship frame | Shows dynamics between people and supports narrative | Wide or standard lens, moderate aperture f/4–f/8, include environment |
| Motion/context shot | Provides setting and adds pacing to the sequence | Slower shutter 1/30s–1/60s for blur, tripod optional, controlled panning |
Compositional storytelling — framing, colour, and using the whole frame
How a photo looks is shaped by composition and light. Think of the frame as a stage. It has a front, middle, and back that add emotion and context.

Using composition to direct narrative
Put the main subject where it best tells the story. The rule of thirds helps with balance. Leading lines guide the viewer’s eye to action.
Tight frames show private moments. Wider frames show the setting, which is important.
Colour and light to set emotional tone
Choose colors that match the story’s mood. Warm colors feel cozy and intimate. Cool colors are calm and distant.
Use natural light and shadows to show mood. Small props and textures tell more about the character. These choices make the photo feel real.
| Compositional Element | Practical Tip | Story Effect |
|---|---|---|
| Rule of Thirds | Place subject off-center along thirds lines | Creates balance and visual tension that supports narrative |
| Foreground Layers | Include objects close to lens for depth | Invites viewer into scene and increases intimacy |
| Background Context | Frame subjects with environment to explain action | Provides narrative clues about place and life |
| Focal Length Choice | Use wide to show context, telephoto to compress space | Alters perceived relationship between subject and setting |
| Colour Palette | Select warm or cool tones in-camera or in grading | Sets mood using visual storytelling photography principles |
| Light and Shadow | Use side light, backlight, or soft light to shape form | Builds mood and highlights emotional details |
Variety and sequencing — building a coherent photo essay
Think in roles: set the scene, show people in action, then reveal small details. A good photo essay has many frames that work well together. Use wide shots to place the viewer, mid shots for character and emotion, and close-ups for details.
Choose frames that add new info. Don’t keep the same moment from different angles. Mix portraits, hands-at-work shots, and environmental context to keep it interesting.
Make a simple arc: start with an introduction, build tension in the middle, and end with a question. You can have a clear message or leave it open for interpretation. Both are good for storytelling.
Edit with purpose and pace. Cut images more for print projects than for online. For web, leave space for emotional beats. Use triptychs or polyptychs for sequences.
Go back to the scene after editing to fill gaps. Shoot or select frames that clarify relationships. Sequencing should guide the eye naturally, building trust and coherence.
| Frame Type | Purpose | Example Use |
|---|---|---|
| Establishing wide | Place and context | Street scene showing location and time of day |
| Mid action | Character and narrative movement | Worker shaping glass, subject mid-gesture |
| Portrait | Emotion and personality | Close portrait with environmental hints |
| Close-up detail | Texture and symbolic meaning | Hands, tools, or small objects that tell more |
| Relationship shot | Connections and interaction | Two people sharing a look or working together |
| Sequence panel | Progression and change | Triptych showing start, action, and result |
Camera settings and technical choices that support storytelling
Technical choices affect how we feel. Camera settings help guide our attention and mood. Small changes in lenses, aperture, and shutter speed can shape the story.
Lenses and focal length choices
Choose lenses that fit the story. Wide lenses show the big picture. Medium and short lenses make faces closer.
Try different apertures to see how they change the mood. Carry a prime and a zoom for quick changes.
For tips on framing and mood with natural light, check out this guide on storytelling photography. It shows why lenses are key for drawing viewers into scenes.
Exposure and motion decisions
Shutter speed sets the pace. Fast speeds freeze moments. Slower speeds blur motion.
Balance ISO and aperture for skin tones and mood. Open aperture for closeness, but keep ISO low for clear images.
Autofocus is key. Use continuous AF for action. Single-point AF is best for portraits. Test autofocus on secondary subjects before the main shot.
| Goal | Lens/Focal Length | Settings | Effect on Story |
|---|---|---|---|
| Show environment | 24–35mm | f/4–f/8, 1/125s, ISO 100–400 | Context, place, character relationships |
| Natural perspective | 50mm | f/1.8–f/4, 1/250s, ISO 100–800 | Everyday feel, approachable subjects |
| Emotional portrait | 85–105mm | f/1.2–f/2.8, 1/200–1/500s, ISO 100–800 | Intimacy, subject isolation |
| Convey motion | 24–70mm zoom | f/2.8–f/8, 1/30–1/125s, ISO 100–1600 | Movement, energy, blurred action |
- Carry a fast prime for low-light portraits and a flexible zoom for run-and-gun work.
- Bracket shutter speed and aperture when unsure which look best supports the feeling you want.
- Observe subject interaction and adjust settings to keep faces and gestures readable.
Mastering storytelling photography is about technical skill and observing subjects. Use lenses, test settings, and apply emotional techniques to enhance the story.
Editing and delivering the story — colour grading, pacing, and final edits
Good editing keeps the emotion you captured. Start by picking images that show clear feelings. Get rid of pictures that are almost the same.
Editing to preserve feeling
Colour grading is like adding a final touch to mood. Make small changes to keep skin tones and light right. For a nostalgic feel, use warm, muted tones. For drama, go for deep blacks and high contrast.
When making global edits, check each picture for consistency. Small changes can highlight important parts without changing the story.
Sequencing and presentation formats
Order images to tell a story with a start, middle, and end. Use pacing to control the flow: slow for quiet, fast for action. Mix wide shots with close-ups for variety.
Choose how to show your work based on who will see it. Web galleries can have more images and a looser pace. But printed books and albums need strict culling and tight sequencing. Make different versions for Instagram, prints, and web galleries.
Practical photo story tips
- Limit similar frames to avoid repetition and keep momentum.
- Add short captions or a one-line intro to orient the viewer.
- Curate triptychs or mini-sequences to highlight turning points.
- Keep a master edit, then make platform-specific versions.
Final delivery is about being clear and respectful of the moment. Thoughtful editing turns pictures into a story that feels complete and memorable.
Practical tips and real-life example — glassblower shoot case study
Working with a glassblower showed me how to tell stories with photos. I started by listening to their story. I made the workshop a calm place.
This calm let me catch quiet moments. Like hands shaping glass and the glow on a workbench. These became the heart of the photo story.
For the glassblower case study, I used a Sony camera with 50mm and 90mm lenses. I told them I was learning and joked to relax them. I asked to shoot and return to check my photos.
I planned to take wide shots, mid-action frames, tight portraits, and close-ups. I checked the camera settings for the best shots of moving glass.
Useful tips for photo stories: respect the subject, shoot from different angles, and keep the frame simple. Try to capture variety in your photos. Use the whole frame to show context.
Review your photos on the spot, then refine them. Come back to add more depth to your story.
Edit your photos with the story in mind. Be tough and cut out weak shots. Arrange your photos in a clear order. Consider using triptychs or polyptychs to show different stages of a process.
These steps—listen, create comfort, observe details, and match goals to technical tests—sum up practical advice from the glassblower case study.
FAQ
What is storytelling photography and how does it differ from staged portraiture or documentary work?
Why does storytelling photography matter in a crowded visual world?
How do I clarify my intention and build a narrative arc before a shoot?
What practical pre-shoot preparation helps a photo story succeed?
How should I ask permission to photograph people and build rapport on location?
What techniques create authentic, emotional moments during a shoot?
What should I target when composing emotional shots?
How can composition, colour and framing support narrative in images?
What mix of frames creates a coherent photo essay?
How do I assemble the sequence for online galleries versus printed albums?
Which lenses and focal lengths are best for storytelling photography?
What exposure and motion decisions support the story I’m telling?
How should I edit to preserve the emotion and atmosphere of a story?
What delivery formats work best for different uses—web, print, and social?
Can you give a practical example of planning and executing a storytelling shoot?
What common beginner mistakes should I avoid when focusing on storytelling?
How do I balance planning and openness to decisive unplanned moments?
Are there storytelling formats I should consider beyond single images?
How do I test technical settings during a storytelling shoot without disrupting flow?
What final checks should I perform before delivering a client story?
Struggling to get consistent photography clients?
Get More Photography Clients