
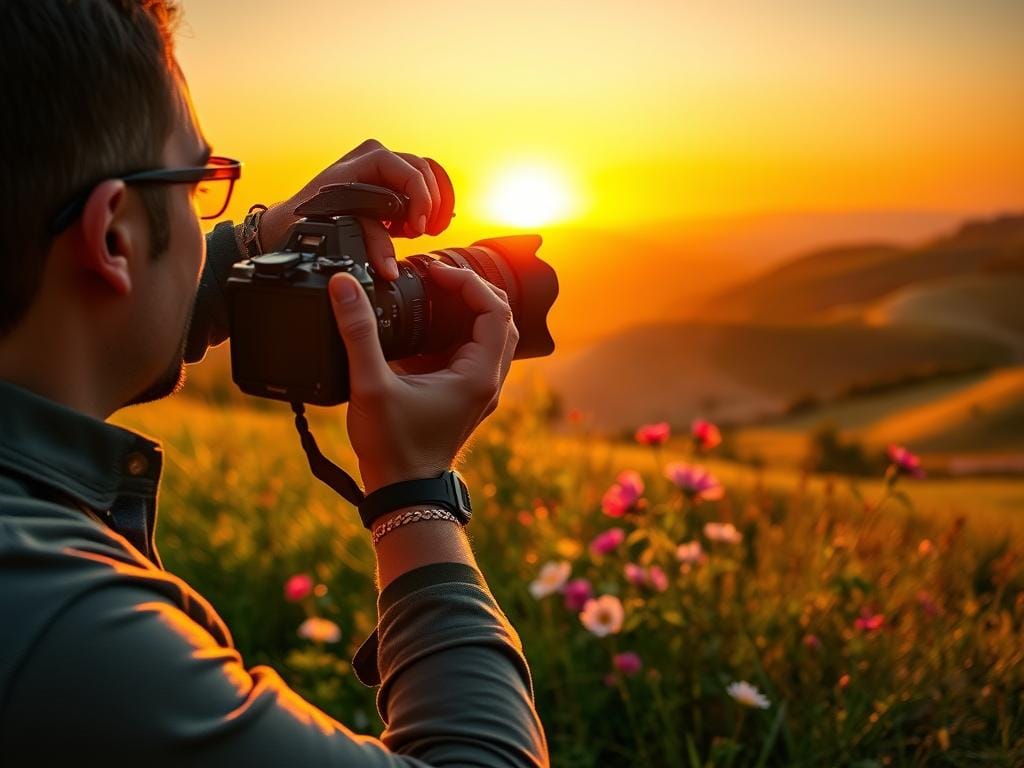
Don’t waste golden hour by showing up late. The best light is in the first 20–45 minutes. Sometimes, it’s less than 10 minutes in busy places.
Here’s how to fix it: scout ahead, arrive early, and set your white balance to 6000K–6500K. Focus on backlit portraits with wide apertures. And always shoot in RAW.
This guide will help you capture better images. You’ll learn how to plan, set exposure, and compose. Your photos will look great and sell well.
Key Takeaways
- Plan timing and route with apps like Sun Seeker so you’re set before the peak window.
- Use manual white balance (6000K–6500K) and shoot RAW to retain warmth and editing flexibility.
- Arrive early, rehearse positions, and reserve your best ideas for the final minutes.
- Expose for the subject—open ~1–1.5 stops for backlit portraits and use f/1.8–f/2.8 for creamy bokeh.
- Bring a small flash or reflector as fill-light options and decide in advance whether to embrace lens flares.
Want to Start Your Own Photography Business?
Why golden hour matters for outdoor photography light
The golden hour happens twice a day. It’s right after sunrise and before sunset. When the sun is low, the light travels through more air.
This makes the light warm and soft. It also creates gentle shadows.
Photographers love this time because of the light. The sun’s rays come in at an angle. This makes subjects stand out from the background.
The sky light is soft too. It makes skin look good and makes photos easier to take.
How long the golden hour lasts changes. It depends on where you are and the season. On clear days, you might have 30–45 minutes of good light.
In cities or near trees, it’s shorter. Winter often gives you more time, while summer’s golden hour is quick.
Midday sun is different. It’s harsh and can make photos look bad. It’s hard on portraits and landscapes.
But, planning shoots for the golden hour fixes these issues. It makes photos look better.
Here’s a tip: plan important moments for sunset. If you start early, save something for the end. This way, you can use the soft, warm light.
For more tips and info, check out this guide on why the golden hour matters.
How to plan and scout so you don’t miss the golden hour
Great outdoor photography light rarely waits. To get warm, valuable images, plan and scout before the clock ticks. Use tools and on-site checks to lock in angles, timing, and backup options.
Know exact sunset/sunrise times and sun path
Start with precise sunrise times and sunset planning. Use apps like Sun Seeker or The Photographer’s Ephemeris. These tools show the sun path and azimuth.
For coastal or river scenes, check local tide charts. A clear horizon changes how long golden hour light stays usable. Sync your schedule to the sun path, not the clock on your phone.
Arrive early and rehearse locations
Get to location 30–60 minutes before golden hour starts. Early arrival gives time to test angles, check exposures, and set white balance baselines.
Rehearse poses, movement, and camera positions with subjects. Running quick practice shots speeds capture when the light is at its best. Bring reflectors or a small tripod so you can adapt fast.
Account for obstructions and seasonality
Scan for trees, buildings, and ridgelines that could shorten the usable window. Urban canyons and seasonal foliage can block light earlier than expected.
Factor seasonality into scheduling. Winter often yields longer low-angle light, while summer sunsets come late. For weddings or client sessions, plan portraits 30–60 minutes before sunset or arrange a short sunset break near the end of events.
- Plan and scout alternate vantage points in case the main spot is compromised.
- Have shaded areas, reflectors, or a gelled-flash plan ready for weather or timing conflicts.
- Keep outdoor photography light goals clear so decisions on the fly match the intended look.
golden hour photography tips for flattering portraits
Golden light makes faces and textures look better. Start with wide shots, then medium poses, and end with tight headshots. This keeps your subjects relaxed and gives you many looks in a short time.
For soft highlights, have the sun behind your subject. Backlit shots make hair glow and separate from the background. Place the sun just at the edge or slightly behind the head to control flare and keep skin details.
Expose for the face. Open 1–1.5 stops above the meter reading or add a small pop of fill. This keeps eyes bright and skin tones natural.
Turn the subject to face the sun for a warm, flattering look. This reduces harsh shadows and often gets relaxed expressions. If it’s too strong, move into shade or use a diffusion panel to soften it.
Choose aperture for portraits based on framing. Use wide apertures like f/1.8–f/2.8 for tight shots to get creamy bokeh. For environmental shots, stop down to f/2.8–f/4 to keep context and subject separation. Fast primes, such as 50mm and 85mm, give pleasing compression and smoother backgrounds.
Prefer these focal lengths: 35–40mm for environmental storytelling, 50mm for natural perspective, and 85mm for flattering compression. For dreamy background separation, prioritize faster primes in the f/1.4–f/2.0 range when possible.
Work in short cycles as light changes quickly. Start wide, then move medium, finish tight and experiment with controlled flare. This practical flow ensures you capture a balanced set of portraits during peak golden hour.
| Shot Type | Aperture Range | Suggested Focal Length | Lighting Tip |
|---|---|---|---|
| Environmental | f/2.8–f/4 | 35–40mm | Place subject near foreground, include background context |
| Medium Portrait | f/1.8–f/2.8 | 50mm | Use soft front or angled light for natural light photography balance |
| Tight Headshot | f/1.4–f/2.0 | 85mm | Shoot backlit portraits for rim light, expose for face, add subtle fill |
Using manual white balance and RAW to retain warmth
Golden hour makes outdoor photos and landscapes warm and rich. Camera auto white balance can make them look neutral. Start with a manual white balance to keep the warmth.
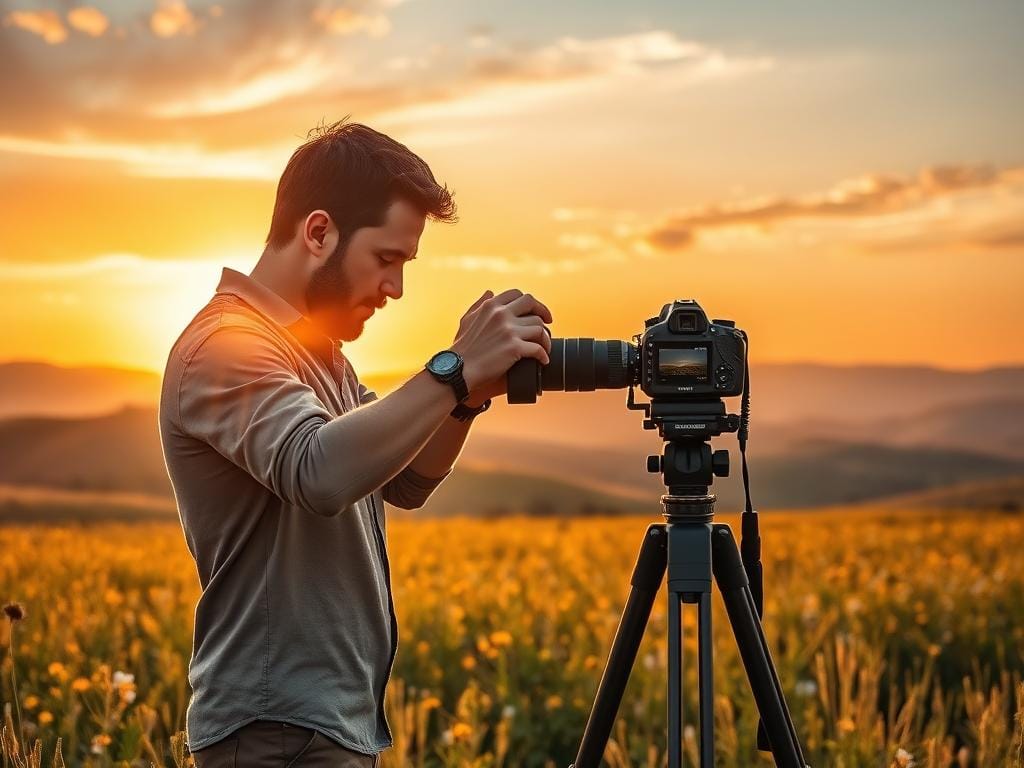
Choose a manual white balance of 6000K to 6500K. This keeps the scene warm like cloudy or shade. If you want to make it warmer later, start a bit cooler.
Set a starting Kelvin of 6000K–6500K
Setting Kelvin between 6000K and 6500K keeps the amber tones. Use the camera preview to check white balance and exposure. Adjust in small steps and watch the histogram to avoid blown highlights.
Shoot RAW for post-processing flexibility
Always shoot RAW in golden hour light. RAW files keep more color data. This lets you edit without losing quality and keep orange and amber hues.
| Task | Why it matters | Practical tip |
|---|---|---|
| Set manual white balance | Prevents camera from neutralizing warm tones | Start at 6000K–6500K and preview on LCD |
| Shoot RAW | Keeps full color and exposure latitude | Use RAW for highlight recovery and color grading |
| Use histogram | Immediate feedback for highlight retention | Expose to protect skies while keeping midtones |
| Edit with care | Preserves natural skin tones and amber light | Apply consistent base presets that retain warmth |
Creative techniques: flares, silhouettes, and sun stars
Golden hour is a short time to try new things. It makes simple scenes special. You can add mood and texture to your photos while controlling them.
Think about lens flares early. To get them, put the sun at the edge or behind a subject. This makes streaks and orbs that add to your photo.
To avoid flares, move to shade or use a lens hood. Or change your view to keep the sun out.
For silhouettes, expose for the sky. This makes your subject dark. Place them in front of the sun for bold shapes.
For sun stars, use small apertures like f/11–f/16. Place the sun behind something to get rays. Use a tripod for sharp stars and faces.
Try creative blur and ICM for a painterly look. Use low ISO and small aperture. Move the camera smoothly for streaks.
Work fast because light changes quickly. Test and change your shots often. Use these techniques wisely for the best photos.
How to embrace and compose with lens flares
Put the sun near an edge and use subjects as blockers. Tilt and shift the camera to shape flares. Use good glass from Canon, Nikon, or Sony for clear flares.
Capturing dramatic silhouettes
Meter for the sky, not the subject. Use negative space for shape. Move closer to your subject for stronger outlines.
Creating sun stars and creative blur
Stop down for sun stars. Use a tripod for stability. For blur, set slow shutter speed and try ICM or panning.
Gear and camera settings that work best in golden hour conditions
Getting the most from outdoor photography light means matching the right tools to smart camera choices. Below is a compact guide to essential gear and starter camera settings that make golden hour photography tips work in real shoots.
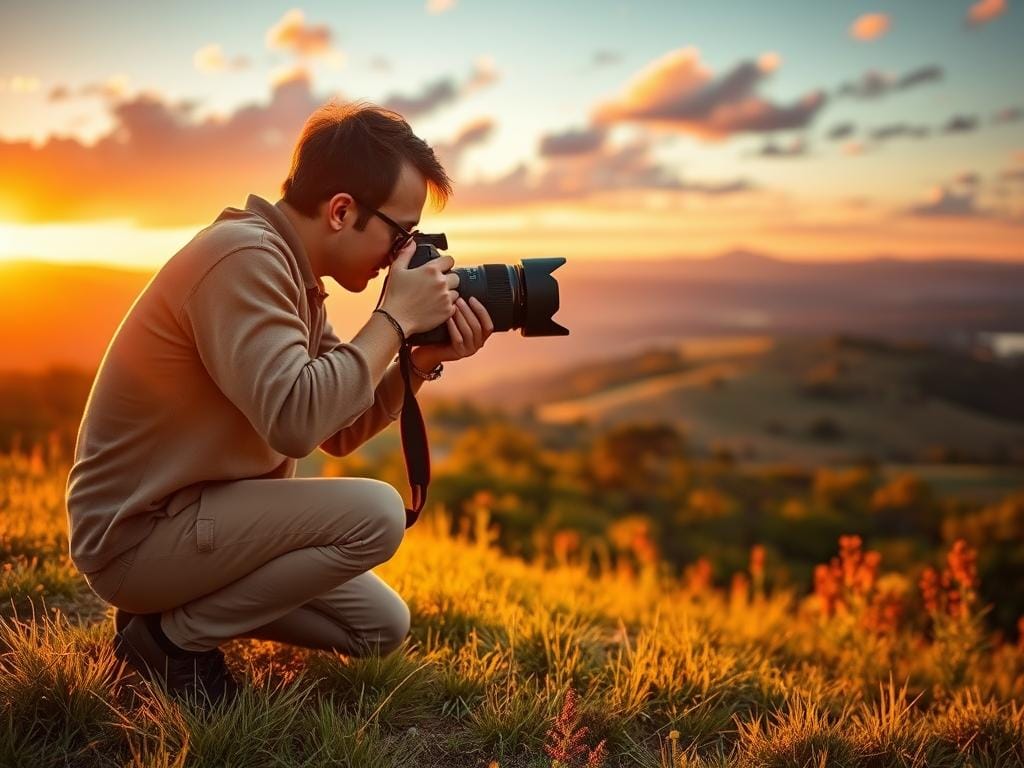
Essential gear checklist
Carry fast primes such as the 50mm and 85mm for portraits. Use a 35mm for environmental work. Add a versatile zoom like the Canon 24–70mm or the Olympus 40–150mm for micro four thirds systems.
Bring a sturdy tripod for sun stars and long exposures. Pack reflectors and a small TTL or manual speedlight for subtle fill. Include gels to recreate warmth when needed and spare batteries and memory cards.
Install planning apps like Sun Seeker or The Photographer’s Ephemeris to scout light angles and timings before you arrive.
Starting exposure settings and ISO strategy
For portraits start near ISO 100–200 with aperture between f/1.8 and f/2.8 for shallow depth of field. Use a shutter speed that matches your focal length, for example 1/200s or faster to freeze subject motion when handholding.
For environmental wide shots try f/5.6–f/11 depending on lens sharpness and desired depth. Keep ISO low to minimize noise. Raise ISO only as the light fades and when the shutter speed or aperture limits your options.
When backlighting faces, open exposure about 1–1.5 stops above the meter reading or add a low-power fill flash or reflector. Aim for a 1:16 to 1:8 flash ratio to lift shadows while preserving mood.
If you need starbursts or long exposures as light drops, prioritize a tripod so you can maintain low ISO. For handheld silhouettes favor faster shutter speeds and slightly smaller apertures to keep subjects crisp.
- Fast prime lenses for low light and creamy bokeh
- Zoom for framing flexibility
- Tripod for creative blur and sun stars
- Reflector or small speedlight for fill
- Gels and spare power/media
These camera settings and gear choices form a practical foundation for golden hour photography tips. They help you control the warm tones of outdoor photography light while keeping noise low and composition flexible.
Compositional strategy: wide, medium, tight to tell the story
Plan your shots from wide to tight. This helps you use golden hour light well. You get wide shots, medium frames, and tight details as the light changes.
Start with a wide shot to show the scene. These shots capture the sky, landscape, and where things are. They also let you adjust as the light changes slowly.
Empty shots without a person can tell a story too. They add depth to your photos.
Then, take medium shots of people in their setting. Use lenses like 35mm–50mm to keep the scene in view. Choose apertures that make the subject sharp and the background soft.
End with tight shots of details. Use f/1.8–f/2.8 for these to make the background soft. These shots are best when the light is at its peak.
Shoot in order: wide, then medium, and lastly tight. This way, you’re ready if the light changes. Save your creative shots for the end to make them stand out.
Composition helps tell your story. Mix wide shots, medium portraits, and tight details. This makes your photos feel real and complete.
How to recreate golden hour look when you can’t shoot at golden hour
Shooting outside golden hour doesn’t mean you lose that warm feel. You can get that look with the right lighting and post-processing. Use smart techniques on set and then adjust colors in software to get that golden hour feel.
Gelled flash and WB techniques
Use CTO gels on a Godox or Profoto speedlight to warm your light. Place the gelled flash low and off to one side like the late sun. Set your camera’s white balance cooler, like 3200K or a tungsten preset, so the scene looks cooler.
Make sure the subject looks warm without orange skin. Try different gel strengths and adjust the flash power. This helps you get that golden hour look with depth between the subject and background.
Post-processing color grading tips
Start in Lightroom or Capture One with a gentle temperature lift and a bit more vibrance. Use HSL controls to make oranges warmer while keeping reds and skin tones natural. Reduce any magenta or green tints that ruin the golden look.
Apply split toning to warm highlights and cool shadows a bit. Add local radial filters behind the subject to simulate backlight and boost luminance. Use masks to protect skin; adjust hue and luminance sliders for oranges and reds so faces stay true.
- Create reusable presets that add subtle warmth and directional light clues.
- Use gradient filters to mimic sky warms or local adjustments for rim light.
- Avoid overcooked saturation. Small moves yield realistic results.
Combine practical gelled flash work with careful color grading and post-processing. This two-step method makes it easy to get the golden hour glow even when you can’t shoot at magic hour.
Avoiding common golden hour mistakes
Scouting is key. Not checking sun path and nearby obstructions wastes the short window. Walk the site ahead of time, note horizon visibility, and plan alternate angles so you avoid mistakes when light shifts.
Slow down during the shoot. Rushing through wastes creative energy before the best light arrives. Save your strongest ideas for the final minutes and keep the session relaxed for better results.
Protect highlights to prevent overexpose sky problems. Blown sunset tones remove color and detail. Expose for the sky or bracket exposures to blend later so you keep both glow and subject detail in the frame.
Watch AWB issues. Auto white balance often neutralizes warm tones that make golden hour special. Set a manual Kelvin near 6000K–6500K and shoot RAW to retain warmth and correct skin tones in post.
Control lens flare. Unplanned flare can look like an error. If you want flares, place the sun at a frame edge or behind the subject. Avoid centering a flare with no compositional support.
Match aperture to story. Too-small apertures for tight portraits kill dreamy bokeh. Too-wide apertures for environmental shots lose context. Choose an aperture that supports the mood and depth you want to show.
Plan logistics for people. Late-day sessions can tire children and guests. Keep pacing realistic, build breaks into the timeline, and communicate timing clearly for weddings and family shoots to avoid last-minute stress.
Use this checklist to reduce common mistakes: scout early, pace the session, protect highlights, set manual WB, control flares, pick suitable apertures, and manage client logistics. These golden hour photography tips help protect your images and your process.
Disclaimer and references
The tips in this guide are just the beginning. Your camera, lens, and the weather can change how photos look. Always test and adjust your settings as needed.
Remember to respect others’ property and follow the law. It’s important to be safe and legal when taking photos. For more on light, check out this guide on golden hour photography.
Many experts helped with this guide. They shared tips on how to take great photos during golden hour. You can find their work on SLR Lounge and other sites.
Quick answer (60–90 words): Golden hour gives us warm, soft light. It’s perfect for making skin tones look great. Use backlight or soft front light, shoot in RAW, and set your white balance first.
Scout the sun path and get there early. Test your gear before you start. Always follow safety rules and get the right permissions.
Three key takeaways: 1) plan your shoot with the sun path in mind; 2) shoot in RAW and adjust white balance; 3) always put safety first. Shareable tips: “Arrive 20 minutes early, shoot wide first, then tighten for details.” One-line friend message: “Want to see sunset magic? Bring a camera and meet me at golden hour.” Learn more about golden hour
Want to Start Your Own Photography Business?
Want to Start Your Own Photography Business?
Stay focused,
Ray Baker.
FAQ
What is the single most important thing to know about golden hour?
How long does golden hour actually last?
Which apps or tools help me plan the exact time and sun path?
How early should I arrive on location?
How do obstructions affect my golden hour shooting plan?
Should I shoot backlit or facing the sun for portraits?
What apertures and focal lengths work best for flattering portraits?
What manual white balance should I start with to keep golden tones?
Why is shooting RAW important for golden hour images?
How do I handle lens flares—avoid or embrace?
How do I create dramatic silhouettes during golden hour?
Can I make sun stars and when should I use a tripod?
What gear is essential for golden hour shoots?
What are good starting exposure settings for portraits?
How should I sequence my shots during the limited golden window?
How can I recreate a golden-hour look if I can’t shoot at golden hour?
What post-processing tips protect skin tones while enriching warmth?
What common mistakes should I avoid during a golden hour session?
What backup plans should I have if golden hour is unavailable?
Are there specific workflow tips to speed delivery while protecting golden hues?
Which photographers or resources are useful for learning more?
Struggling to get consistent photography clients?
Get More Photography Clients