
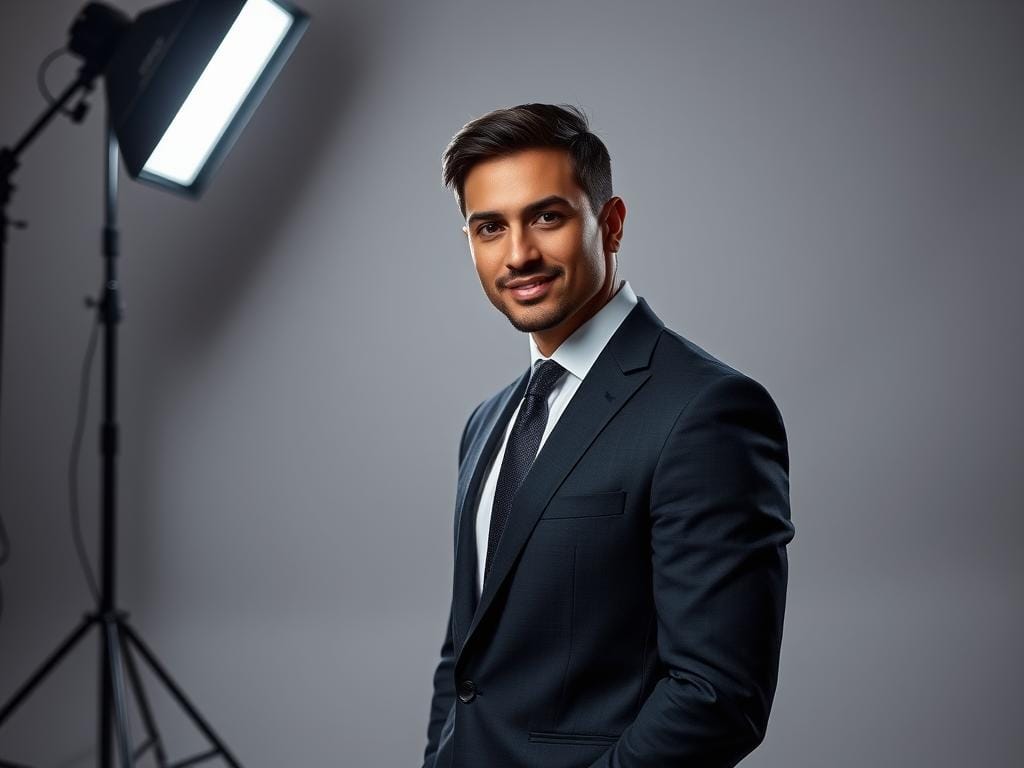
Having trouble with headshots that look the same every time? Stop using random lights and start with recipes that work.
Learn a simple lighting setup for headshots. This will help you avoid retakes, get more corporate work, and make group photos easy. Use a big, soft light above your eyes, a reflector at your chest, and a small light for extra detail. Also, use two lights in the back for a clean white background.
These tips are used by pros in Washington, DC and New Jersey. They use lights like Profoto B1s or Paul C. Buff Einsteins. But it’s the recipe that’s most important, not the brand. Start with one light, then add more for bigger photos.
Key Takeaways
- Master the one-light plus mid-chest reflector first—fast, reliable results.
- Add a subtle kicker/rim light for subject separation and depth.
- Use two background lights for even white backdrops; one light can work if space is limited.
- Speedlights and reflectors are fine for budget shoots; power and distance control brightness and fall-off.
- Consistent recipes make corporate and business portrait photography repeatable and client-friendly.
Essential gear for reliable portrait lighting and business portrait photography
Good gear makes it easier to get great headshots. Choose tools that fit your style. For studio work, use mains-powered strobes for steady light.
For outdoor shoots, battery monoblocs are best. They cut cables and speed up setup.
Choosing lights: strobes vs. speedlights
Strobes like Paul C. Buff Einstein or Profoto D1 give steady power. They’re perfect for studio work where you need the same look every time.
Battery models like the Profoto B1 offer the same quality without needing a plug. They’re great for quick shoots because they’re easy to move.
Speedlights are good for being light and saving money. A modern speedlight can look like a studio light with the right tools. Many mix strobes and speedlights for the best of both worlds.
Modifiers that matter: octaboxes, stripboxes, umbrellas and grids
Big octaboxes and umbrellas make soft, flattering light. This is key for many corporate shots.
Stripboxes and small gridded strips are great for highlights on hair and jaw. Use grids or snoots to shape light and control spill.
Go for bigger modifiers for even light and soft edges. For hair and rim light, add a grid to keep contrast.
Budget alternatives: using a speedlight, umbrellas, and $20 reflectors
A single speedlight, a big umbrella, and two cheap reflectors can make a good one-light setup. Reflectors are great for secondary light and filling shadows.
For highlights, use a gridded speedlight or a DIY snoot. Focus on a big main modifier and good reflectors if you’re on a tight budget.
Think about where and how much light you need, not just the best gear. With smart placement, simple gear can get you professional shots.
headshot lighting setup
A good headshot lighting setup is easy. Use one big, soft light and a reflector to shape the face. This works for many kinds of photos, from corporate to quick outdoor shots.
The one-light wonder recipe
Make a solid one-light headshot with a strobe or a speedlight. Attach it to a big octabox or umbrella. Place it close to wrap the light around the face gently.
Have a mid-chest reflector ready for extra light. An optional side reflector can make shadows softer. This setup gives great catchlights and shadows for many clients.
Placing the large diffused main light and angle recommendations
Put the main light a bit to the side and above the eyes. This shapes the jawline and creates natural shadows. It also keeps the catchlights right.
For a loop or short lighting, move the light until the cheek opposite the light is softly shadowed. Bigger modifiers make transitions smoother. Move the modifier closer for more wrap and softer contrast.
Why reflectors are foolproof and how to use mid-chest reflectors
Reflectors fill shadows under the eyes and chin without overpowering the main light. Hold the reflector at mid-chest height and tilt it to bounce light into the lower face.
Change the reflector’s distance to control the fill amount. Reflectors never overpower the main light, avoiding fake-looking fills. Photographers in Washington, DC and New Jersey use this setup for quick, consistent results.
Simple tweaks to flatter different faces and common problems
Small changes in your headshot lighting can make a big difference. These tips help with light height, reflector placement, and rim light. They solve issues like double chins, deep-set eyes, and heavy hair.
Fixing double chins: raise light, adjust reflector position
Raise the main light a few inches above eye level. This casts a shadow under the jaw. It helps define bone structure and hide double chins.
Lower or remove the mid-chest reflector. This stops it from filling in the shadow under the chin. Keep catchlights in the eyes by adjusting angles while the subject slightly tilts their chin.
Deep-set eyes and long hair: changing light height and adding hair light
For deep-set eyes, lower the main light toward eye level. This pushes more light into the eye sockets and cuts harsh brow shadows. Make small moves and check for natural catchlights.
Long, dark hair benefits from a hair or kicker light from behind. This adds separation and texture. Use a stripbox or gridded speedlight to control spill and avoid flare. If hair already creates a dark edge, favor a white side reflector instead of adding more shadow.
When to switch from white reflectors to black-sided panels for slimming
White reflectors give safe, even fill that flatters most skin types. Use them for forgiving, soft results and minimal contrast.
Black-sided panels remove fill and create darker edges on the shadow side. Use them for a slimmer, more dramatic contour. Watch for increased texture and wrinkles; avoid heavy black-sided fill on highly textured skin unless that look is intentional.
For quick reference and visual diagrams of one-, two- and multi-light approaches, see this guide from Digital Photography School. It shows three lighting setups that scale well for corporate work: three lighting setups for headshots. Use these tips and adjustments to refine a consistent, professional approach for studio and on-location shoots.
Adding a kicker or rim light for separation and dimension
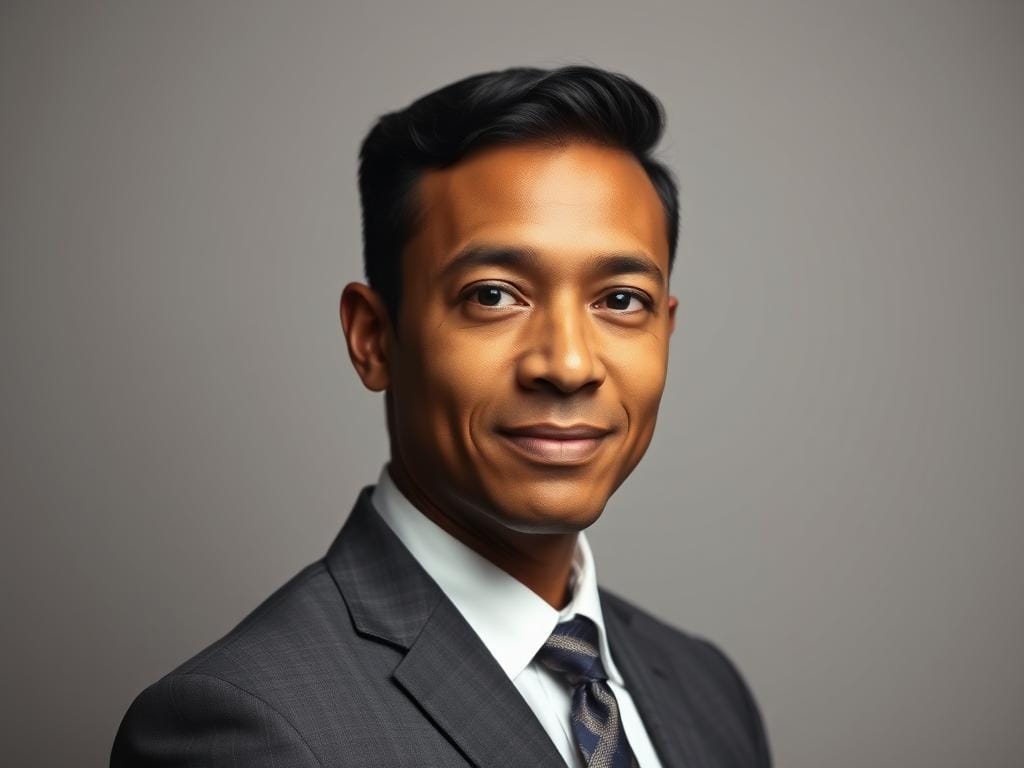
A kicker or rim light can make a flat photo look layered. Put the kicker behind the subject, a bit above their head. It should skim the hair, shoulder, or jaw.
This creates a clear view from the background. It also keeps the face looking good.
Where to put the kicker and which modifiers work best
Use a narrow stripbox or a 1′ x 3′ modifier for a controlled light band. Grids, snoots, or a gridded speedlight help focus highlights. They also prevent background blowout.
In tight spaces, a small grid or snoot on a speedlight works well. It’s a simple way to add rim light.
Position the kicker on either side of the camera. Angle it to wrap light around the face. Small changes in distance and angle affect the look.
For more tips, see this guide on dramatic headshots using three lights and one light.
Power balance: keep the kicker subtle to protect contrast
Make the kicker much weaker than the key light. You want a soft rim, not a strong highlight. Too much light can ruin the photo.
Use flags, grids, or tight modifiers to control spill. This way, the kicker lights only the edge you want. Done right, it adds depth without taking away from the eyes or expression.
Building a three- or four-light setup for a clean white background
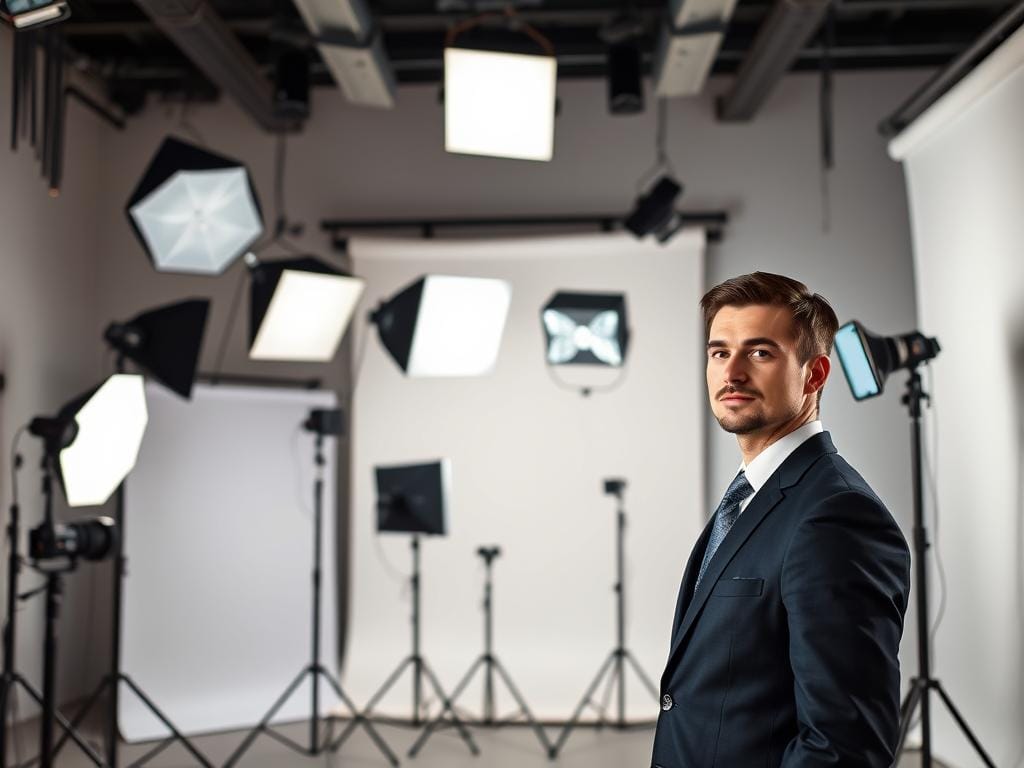
Creating consistent white background headshots starts with a clear plan. A reliable portrait lighting setup keeps faces flattering while driving the backdrop to pure white. Choose a headshot lighting setup that fits your space and budget to keep results repeatable across sessions.
Three-light and four-light options both work for corporate headshot setup. Each choice trades simplicity for evenness. Pick the one that matches your studio size and client needs.
Options with three lights versus four lights for even background coverage
The three-light approach uses a main light, a kicker or rim, and a single background light aimed at the backdrop. This is efficient in tight spaces. Expect some fall-off at the edges when the backdrop is wide.
The four-light method adds a second background light, one left and one right, to spread illumination. That reduces hotspots and gives edge-to-edge brightness, which is ideal for full white backgrounds used in corporate headshot setup.
How background power and distance control brightness and fall-off
Background brightness depends on power and distance. Increase background light output or move lights closer to the backdrop to raise brightness and reduce fall-off. Reduce power or move lights back to darken edges.
Distance between subject and background matters. More separation minimizes spill onto the subject but needs higher background power to reach pure white. Test settings during setup, not just in post-production.
Replicability for corporate shoots: why white backgrounds are client-friendly
White backgrounds read clean and modern on LinkedIn and company sites. They simplify branding and crop well for multiple formats. A consistent portrait lighting setup makes it easy to match past sessions.
Using two background lights helps reproduce looks in different locations or with different photographers. That makes a corporate headshot setup more dependable for agencies and in-house teams.
| Setup | Typical Lights | Best For | Trade-offs |
|---|---|---|---|
| Three-light | Main light, kicker, single background light | Small studios, quick turnaround | Edge fall-off on wide backdrops; easier to set up |
| Four-light | Main light, kicker, left and right background lights | Full white backgrounds, high-volume corporate work | More gear and space needed; more even coverage |
| Distance strategy | Adjust subject-to-backdrop spacing | Control spill and highlight separation | Greater distance needs more background power |
| Power strategy | Increase background power or move lights | Reduce fall-off and create pure white | Can introduce hotspots if not balanced |
Lighting patterns: loop, butterfly (clam-shell), short and broad lighting
Learning about lighting patterns can change how a photo looks. This guide will show you the best ways to light a headshot. You can try these tips on your next photo shoot.
When to use loop lighting for natural, modest contrast
Loop lighting shines a light on the side and a bit above the subject. It makes a small shadow on the cheek. This makes the face look friendly and clear.
Loop lighting is great for corporate photos, actor shots, and everyday portraits. Use a medium softbox or umbrella for a good setup.
Clam-shell setup for smooth, even beauty headshots
The clam-shell setup uses a light above and a fill light below. It gives a smooth, flattering look with a shadow under the nose. Big octaboxes or umbrellas work well for the main light, with a reflector or soft light below.
Butterfly lighting is perfect for beauty shots where skin looks smooth. Moving the fill light a bit adds depth without losing the soft look.
Short vs. broad lighting: posing + light placement to shape the face
Short lighting shines a light on the side away from the camera. It creates shadows that slim the face and add drama. It’s great for a sculpted look.
Broad lighting shines on the side facing the camera. It makes the face look wider and fuller. Both styles can be changed with small adjustments in light angle and power.
| Pattern | Typical Use | Key Gear | Effect on Face |
|---|---|---|---|
| Loop lighting | Corporate headshots, actors, friendly profiles | Softbox or umbrella at 30–45°; chest-level reflector | Natural contouring with modest contrast |
| Butterfly lighting | Beauty, polished portraits, commercial headshots | Octabox or large softbox above; reflector or low fill | Even skin tones, subtle shadow under nose |
| Short lighting | Dramatic portraits, slimming looks, cinematic style | Directional softbox or stripbox; hair light optional | Slims and sculpts with deeper shadows |
| Broad lighting | Friendly, open portraits, wider face appearance | Softbox placed toward camera side; fill reduced | Brightens front of face, reduces perceived depth |
Practical on-location adjustments and space-saving techniques
When you shoot headshots in offices or lobbies, quick fixes are key. Think about being mobile, keeping things simple, and controlling the light. Small changes in position and simple tools help you keep your setup clean without needing a full studio.
Battery monoblocs make setup faster by removing cords. A Profoto B1-style unit lets you work without AC power. It’s great for shooting in different rooms without making a mess.
Remember these battery flash tips: carry extra batteries, check battery life during shoots, and set clear expectations with clients. Use sandbags and cable management straps to keep things safe.
Converting speedlights can save space and money. Use them with small softboxes or umbrellas for flattering light. Add a gridded speedlight or a DIY snoot for extra light. A bare speedlight bounced off a wall can also work as a background light.
Keep your light ratios simple. Make your main light one to two stops brighter than your fill. Start with TTL, then switch to manual once you know the ratios. Use portable V-flats to hide your modifiers for cleaner light.
Bouncing light off ceilings or walls can solve fill problems in tight spaces. Use foam-core reflectors and V-flats to control spill in small areas.
When flash and ambient light mix, set your white balance to neutral. Adjust it in-camera as you test. Use lower flash power to match the ambient light without overpowering skin tones. Match light direction and lens choice to get consistent results.
Practical setups use portable tools and smart techniques. Apply these tips to keep your headshot sessions efficient and client-friendly.
Camera settings, lenses, and composition tips for professional headshots
Getting good results starts with matching your lighting to your camera and lens. Choose gear that works well together for consistent looks. Small changes in settings can make a big difference.
Recommended focal lengths and why they work
Use an 85mm prime for sharp, flattering headshots. It’s great for natural looks and comfortable working distance.
A 70–200mm lens is best for tight backgrounds and strong compression. It’s perfect for corporate shots where you want a clean background.
Shutter, aperture and ISO starting points
Start with a shutter speed of 1/125 to 1/200 sec for strobes or speedlights. Keep it below your camera’s sync speed unless using high-speed sync.
Aperture should be f/4 to f/8 for depth of field. Wider apertures soften backgrounds, while narrower ones keep faces sharp.
Begin with ISO at 100–200 for clean images. Only raise ISO when needed for location shots. Be careful of noise at higher ISOs.
Framing and posing cues that interact with lighting
Frame portraits as head-and-shoulders, cropping above mid-chest. This keeps focus on the face. Small framing changes work with lighting to highlight eyes and jawline.
Adjust chin height and head angle for shadow shapes. Raising the chin reduces jaw shadows, while lowering them deepens them. Rotate the head slightly for different lighting effects.
Encourage small movements and natural expressions. This helps find the best catchlights and highlight shapes. Match your camera settings and focal length for repeatable results.
Workflow, consistency and client-focused delivery for headshot services
Make your headshot lighting setup the same for every session. Use labels on stands and note down light details. Keep a simple guide for different looks, like one-light main and two-light setups.
Let clients see what styles you offer before the shoot. Show them natural, beauty, and corporate looks. For corporate jobs, write down camera settings and light positions. This helps keep photos consistent for teams.
Set rules for editing before the shoot. Minor fixes and spot retouching are okay, but keep it the same for company photos. Tell clients how long it will take and what they’ll get, like square crops and LinkedIn photos.
Use simple setups to save time and make clients happy. A big diffused light, a reflector, and a dim kicker work well. Share these tips on social media or in messages. Invite people to learn more by clicking the link below.
Stay focused,
Ray Baker.
FAQ
What is a reliable headshot lighting setup for clean, professional portraits?
How do I choose between strobes, battery monoblocs and speedlights?
Which modifiers matter most for flattering headshots?
Can I get professional results with budget gear like speedlights and reflectors?
What is the one-light wonder recipe and when should I use it?
How high and at what angle should I place a large diffused main light?
Why are mid-chest reflectors foolproof and how should I use them?
How do I fix a double chin with lighting and reflectors?
What adjustments help deep-set eyes or long, dark hair?
When should I use black-sided panels instead of white reflectors to slim a face?
Where should I place a kicker/rim light and which modifiers work best?
How do I balance kicker power so it adds separation without flare or flatness?
What’s the difference between three-light and four-light white-background setups?
How do background power and distance control brightness and fall-off?
Why are white backgrounds so useful for corporate headshots?
When should I use loop lighting for headshots?
What is the clam-shell (butterfly) setup and when is it appropriate?
How do short and broad lighting shape the face?
Are battery-powered monoblocs worth using on location?
How can I convert studio lighting recipes to speedlights in tight or budget shoots?
How can bounce and ambient reflections help in office environments?
Which focal lengths are best for headshots and why?
What are good starting camera settings for strobes and speedlights?
How should I frame and pose to work with lighting choices?
How do I keep workflows consistent across multiple corporate shoots?
What client-focused delivery practices help with corporate headshot projects?
Any quick shareable tips for photographers to remember?
Struggling to get consistent photography clients?
Get More Photography Clients