
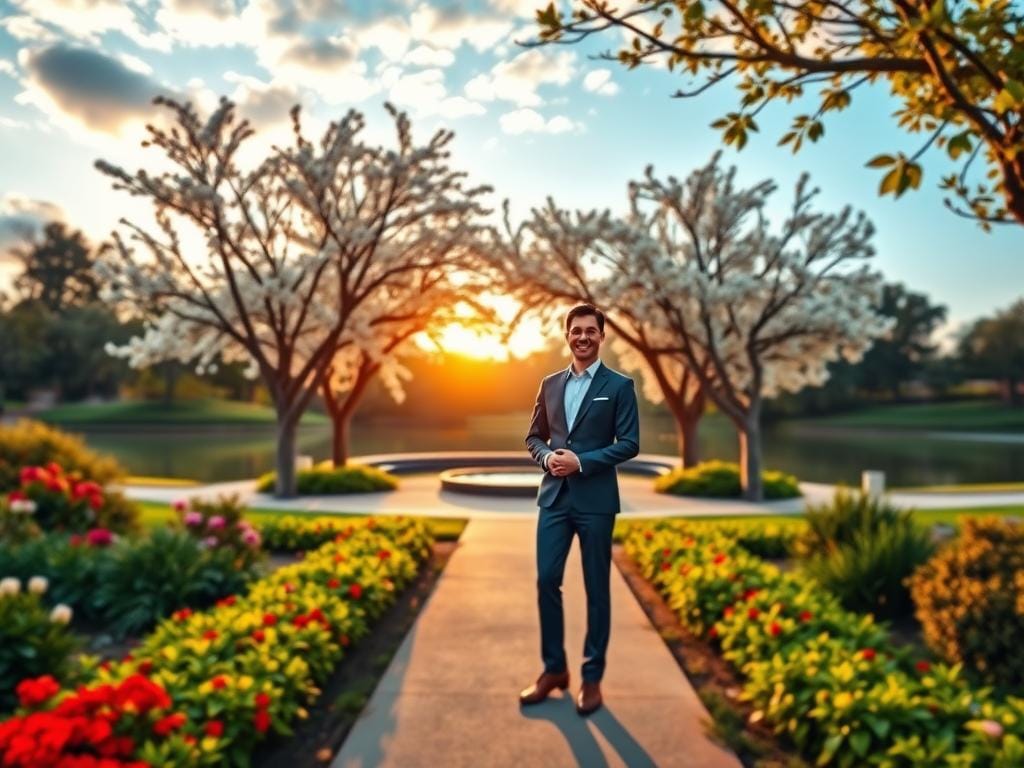
Are you tired of photos that look sharp but don’t impress clients? The issue is often the backdrop and lighting, not the model or camera settings.
Don’t guess; start looking for the right spots. Choose backdrops with good light, keep your subject a few feet from the background. And avoid harsh, amateur flash outdoors.
The first tip: the best backdrop is well lit. Look for golden hour or open shade. Place the sun behind your subject for the best light.
If shooting in trees, stand at the edge. This way, sky light hits your face and avoids green casts.
The second tip: treat the outdoors like a studio. Bring a compact backdrop for controlled contrast. Use a T-bar stand on beaches or fields. And pick your lens before choosing the location.
Wide lenses show more, while telephotos blur and compress.
The third tip: scouting beats luck. Use your phone and GPS to find great spots. Scout at the same time you’ll shoot. And make a quick test frame to check everything.
Key Takeaways
- Prioritise light: golden hour and open shade make the best outdoor portrait locations.
- Place subjects 4–5 feet from the background to increase blur and separation.
- Avoid on‑camera flash outdoors; use reflectors or subtle fill when needed.
- Bring portable backdrops for cinematic control and stabilise stands on uneven terrain.
- Scout with a smartphone, record GPS, and test frames at the shoot time for reliable results.
Understanding why outdoor portrait locations matter for client appeal
Choosing the right outdoor spot for portraits makes a big difference. A good background turns a simple photo into a story. This story grabs the viewer’s attention.
Lighting that flatters the skin, a setting that feels real, and keeping the subject in focus are key. These elements make a portrait stand out.
How a backdrop influences buying decisions
The distance and blur of a background affect how good an image looks. When the subject is close to the background, it looks professional. Backdrops like a wet shoreline or a tree-lined path add texture.
These textures make the image look more valuable. Buyers like images that look polished, natural, and thought-out.
Evergreen goals: flattering light, believable context, and subject focus
Lighting that flatters the subject sells portraits. Golden hour and open shade give soft, even tones. These tones are what clients expect.
Avoid harsh midday sun and bright, patchy forest light. Natural light beats on-camera flash for most outdoor shoots.
Context that tells a story is important. Match the subject’s clothes to the scene. A tailored jacket fits well with urban walls, while a flowing dress looks great in fields.
This matching makes the image feel right and more appealing to buyers.
Focus on the subject is key. Use lens choice and distance to create either environmental portraits or tight frames. Both can meet client expectations if done well.
Common client expectations for outdoor portrait shots in the United States
In the United States, clients often want photos that feel natural and approachable. They look for clear skin tones, minimal color casts, and scenes that fit their brief. Simple, believable backgrounds build trust and boost client appeal.
Smartphone scouting, checking light at the planned time, and testing lenses help meet these expectations. Planning portrait backgrounds with these needs in mind leads to better galleries and more inquiries.
How to scout locations like a pro: location scouting photography tips
Good scouting makes a spot great for photos. First, decide what you want: one cool backdrop or many scenes. Use your phone to check places, access, and if you need a permit.
Use your phone’s GPS to find good spots. Save places, take quick photos, and note parking, shade, and crowds. Then, add these spots to Lightroom or a map app for easy planning.
Using a smartphone and GPS to catalogue possible spots
Record each spot with three things: a wide shot, a close-up, and safety notes. Look for interesting structures, water, and textures. A small T-bar stand works well in many places to test backdrops.
Scouting at the same time of day you’ll shoot to check light quality
Light changes how photos look. Scout when you plan to shoot to see the light. Check for good light on faces and find places for soft light.
Making quick test frames to assess background separation and clutter
Bring your camera and settings for test shots. Place a subject 4–5 feet from the background to check blur. Look for clutter and change angles if needed.
Always think about safety and access. Check the ground, traffic, and visibility. Avoid dangerous areas. Find spots with different areas nearby for more options.
For more tips, check out this guide: how to scout for portrait shooting. Use these tips to make sure a location works for your shoot before booking.
| Checklist Item | Why it matters | Quick action |
|---|---|---|
| GPS coordinates | Findability for crew and clients | Save to phone and export to Lightroom |
| Light test at shoot hour | Shows quality, shadows, and golden hour windows | Photograph scene at same time and note angles |
| Background separation | Controls bokeh and distraction level | Place subject 4–5 ft from background and shoot |
| Permit and access | Legal clearance and ease of setup | Check city rules, private property, and fees |
| Stabilization space | Room for reflectors, stands, and assistants | Measure usable space and plan gear load |
| Portable backdrop test | Adds controlled look when environment is weak | Setup a small T‑bar and test canvas or water‑safe material |
Light first: choosing backdrops with ideal natural light
Good locations depend on light more than scenery. Look for a spot with soft, even light. This lets the background fade into the background.
Why golden hour and open shade are portrait-friendly
Golden hour gives warm, low-angle light that makes skin look good. Open shade, like a tree line, offers soft light without harsh spots. Both help create flattering portraits and keep the background nice.
How to avoid direct sunlight on your subject’s face
Don’t put the subject in harsh midday sun. Use backlight for a rim glow and expose for the face. Move them to shaded spots or the edge of a clearing for better light.
When to use reflectors or subtle fill flash outdoors
Reflectors can lift shadows on cloudy or shaded days. Small silver or white reflectors work well for adding light. Use a low-power flash to match the natural light and keep it natural.
Lens and distance: craft backgrounds that blur and flatter
Choosing the right lens and distance shapes how a backdrop reads. The lens you pick and the gap between subject and background decide whether details melt away or stay legible. Use these practical tips to match portrait background ideas to the image you want.
Start by setting your subject several feet in front of the backdrop. A gap of 4–5 feet reduces distracting detail and helps produce creamy bokeh with many lenses for portraits.
Choosing focal length for environmental versus compressed portraits
Wider focal lengths, such as 28–40mm, keep context visible. Use them when location scouting photography aims to sell setting as part of the story. For tighter, head-and-shoulder shots try 85mm or longer to compress perspective and flatter faces.
How subject-to-background distance controls bokeh and distraction
Increase the subject-to-background distance to soften backdrop textures. Even a modest gap turns busy scenes into subtle color fields. When backgrounds are close, switch to a longer focal length or move the subject away to avoid competing details.
Aperture choices and how they change perceived backdrop detail
Open apertures like f/1.8–f/2.8 give strong background blur. That makes subjects pop while masking clutter. Stop down to f/5.6–f/8 when you want the environment readable. Balance aperture with focal length and distance so focus falls precisely on the eyes.
| Situation | Recommended focal length | Aperture | Distance advice |
|---|---|---|---|
| Environmental portrait showing location | 28–40mm | f/4–f/8 | Place subject closer to camera, keep background within 10–30 feet |
| Tight, flattering headshot | 85–135mm | f/1.8–f/2.8 | Move subject several feet away from background (4–10 ft) for smoother bokeh |
| Client-focused lifestyle frame | 35–50mm | f/2–f/4 | Use moderate distance to keep recognizable context without clutter |
Water, coastlines, and beaches: when to use the ocean as a backdrop
Shooting at the shore offers amazing backdrop ideas. The ocean’s light and textures add movement and mood. Weather, tides, and sun angle change fast, so plan ahead.
The sun’s position is key. If the sun is behind your subject, the water and sky might get too bright. If it’s in front, your subject might squint and shadows could be harsh. Look for thin clouds, use a diffuser, or change your angle to balance the light.
Choose spots that solve exposure issues. High places, low cliffs, or rocks help include sea and sky without overexposing water. Shooting sideways along the shore keeps the ocean in view and reduces glare.
Bring a water-safe backdrop and a strong T-bar stand for a controlled look. Brands like Intuition Backgrounds Xia make materials for sand and shallow surf. Set the stand deep in the sand, use sandbags, and choose stainless or corrosion-resistant hardware for stability.
Coastlines change with tides and wind. Visit locations at different tide levels and times to see how waves and sand change. Use rocks or cliffs as anchors when the beach is flat. A visit the day before helps avoid surprises.
Wet surfaces and gusts need careful safety and gear checks. Push stands into compacted sand, lock tripods, and have an assistant hold big modifiers in wind. Use rain covers from Think Tank or Peak Design to protect your gear. Wear non-slip boots and stay away from unpredictable surf.
Try sideways poses and elevated framing for variety. Ask subjects to angle their shoulders slightly away from the camera to avoid squinting. Use wide lenses or longer lenses to compress the scene and create separation between subject and horizon. These ideas work well with muted colors and few props.
| Common Coastal Challenge | Practical Fix | Why it helps |
|---|---|---|
| Blown-out water or sky | Shoot from higher vantage or use graduated ND; wait for cloud cover | Preserves highlight detail and keeps exposure balanced between subject and background |
| Subject squinting or harsh face shadows | Use diffuser, reflector fill, or shoot sideways relative to sun | Softens light on the face and maintains natural catchlights |
| Stand instability in sand or surf | Anchor legs deep in sand, use sandbags, and have an assistant hold key gear | Prevents toppled stands and protects both backdrop and people |
| Salt spray and corrosion risk | Use water-safe fabrics, rinse metal gear after shoot, and cover electronics | Extends equipment life and avoids costly damage |
| Changing tides and composition loss | Scout at multiple tide states, time sessions around low or high tide as needed | Ensures reliable background elements and safe working space |
Fields, forests, and natural greens: selecting flattering outdoor portrait locations
Choosing the right spot can make a big difference. Look for places with soft, even light. Simple lines help keep the focus on the person.
These spots have natural colors and textures. They also let you control depth and movement.
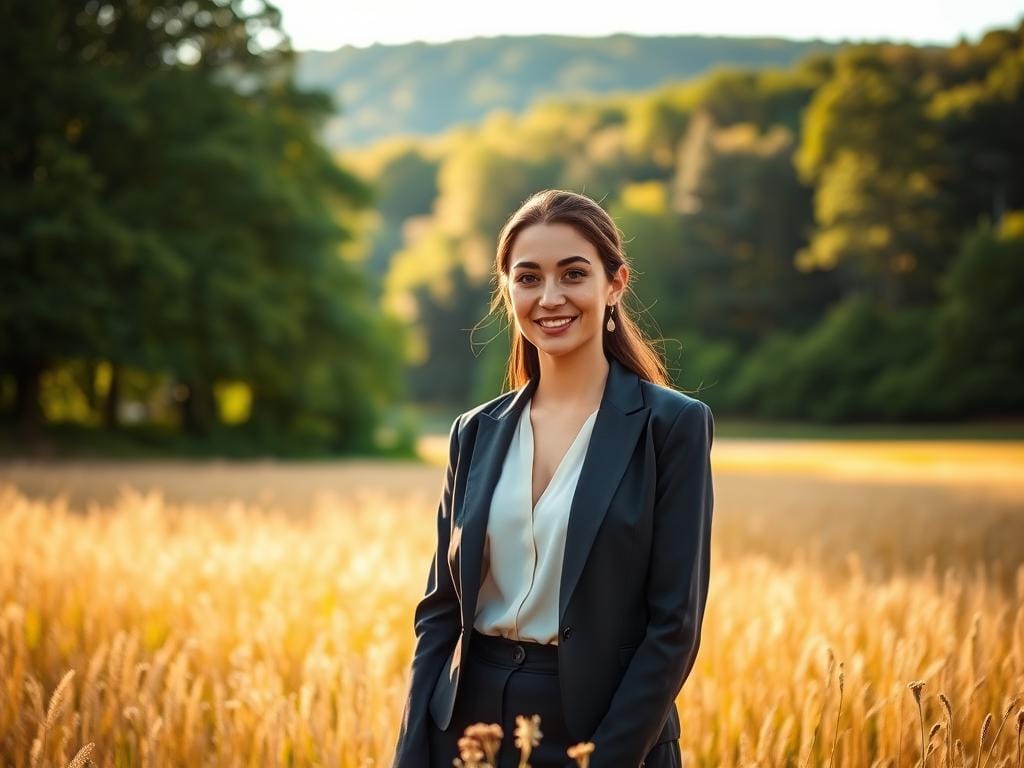
When forests work — edges and clearings for soft light
Deep forests can make skin tones look bad. Choose edges and clearings for better light. Late-day light adds a warm glow.
On sunny days, have the sun behind the subject. On cloudy days, the light is flat and flattering. These tips help keep the scene clear.
Using flowering fields and shooting through foreground elements for depth
Fields with flowers add interest. Use a telephoto lens to blur the background. Ask the model to move slowly for a natural look.
For a controlled look, bring a backdrop. This way, you can mix curated backgrounds with nature.
How foliage color and seasons affect skin tones and white balance
Green leaves can reflect color on skin. Use a reflector to fix this. Adjust white balance as needed.
Telephoto lenses make the scene soft. This helps keep the background pleasing. It’s a good tip for outdoor shoots.
| Setting | Light strategy | Lens suggestion | Quick fix for color cast |
|---|---|---|---|
| Forest edge | Use open sky or backlight at golden hour | 85mm or 70–200mm | White reflector or +0.3 warm WB tweak |
| Clearing | Shoot with soft front light on cloudy days | 50mm or 85mm | Neutral gray card and RAW WB adjustment |
| Flowering field | Backlight for rim glow; shoot through foreground | 85mm or 135mm | Silver reflector and subtle desaturation if needed |
| Tall grass meadow | Sidelight or long lens compression at sunset | 70–200mm | Bounce card and local color correction in edit |
Urban and graffiti backgrounds: using built environments to sell the shot
City walls and street art add personality to portraits. Choose backgrounds that match skin tones and clothes. This keeps the subject in focus.
Stand the model a few steps back from the wall. This creates space and softens the background.
Finding walls and architecture that complement wardrobes
Match clothes to nearby buildings. Neutral outfits look good with colorful murals. Bold dresses or textured jackets work well with dull brick or metal.
Use color theory to pick the right colors. Test a quick frame to see if it looks good.
Managing crowds, permits, and working in public spaces
Look for quiet times for your shoot. Early mornings and weekday afternoons are best. For big shoots, get permits in cities like New York or Los Angeles.
Keep your gear small and don’t block the way.
Balancing vibrant street art with shallow depth of field
Graffiti can be distracting if not framed right. Use a long lens and open aperture to focus on the face. This keeps the art in the background.
Crop the mural to show only what’s important. This makes the story clear.
For a studio look in the city, bring a small backdrop and stand. Check local rules before setting up. A light setup lets you move fast between locations.
Portable backdrops and on-location studio setups
Take a simple backdrop to a park, beach, or alley. It helps control texture and keeps the subject clear. Use it when the natural scene doesn’t match your mood.
Place the subject a few feet in front of the backdrop. This keeps the scene natural and believable.
Choose between canvas or fabric backdrops. Canvas is good for textures and paint. Muslin or poly blends are light and dry fast, perfect for shoots near water.
Bring samples and test frames for color and light. This confirms how the backdrop looks in different lights.
Use 5×7 canvas backdrops for an affordable, sturdy option. They work well with compact T-bar stands. Make sure stands are rated for outdoor use.
Push legs into sand or add sandbags for stability. This prevents stands from tipping in the wind.
Think about composition before setting up. Use wide-angle shots to show the environment or longer focal lengths to isolate the subject. Adjust aperture to control blur and blend the backdrop with the location.
Use wardrobe and posing to make the subject feel part of the scene. This avoids a “pasted on” look.
Pack light and fast for remote shoots. Bring a collapsible backdrop, clamps, and a lightweight stand. This lets you test locations quickly. Always prioritize natural light to keep tones authentic.
| Item | Why it helps | Practical tip |
|---|---|---|
| 5×7 canvas backdrop | Provides texture and painted looks for editorial portraits | Carry in a padded tube; air-dry after shoots near water |
| Muslin/poly fabric | Lightweight, quick to pack, dries quickly on damp shoots | Clip to T-bar with spring clamps to reduce wind flapping |
| Compact T-bar stand | Small footprint, fast setup on varied terrain | Use sandbags or an assistant to anchor on slopes |
| Sandbags / weights | Stabilizes stands in wind or uneven ground | Double-bag with weatherproof covers near the coast |
| Quick test frames | Confirms color, separation, and light quality | Shoot at the time of day you plan to shoot for accurate checks |
Wardrobe, colour, and backdrop pairing for stronger portraits
Choosing the right outfit is as important as picking a location. Good wardrobe choices shape mood and guide the eye. They help the subject stand out against a backdrop.
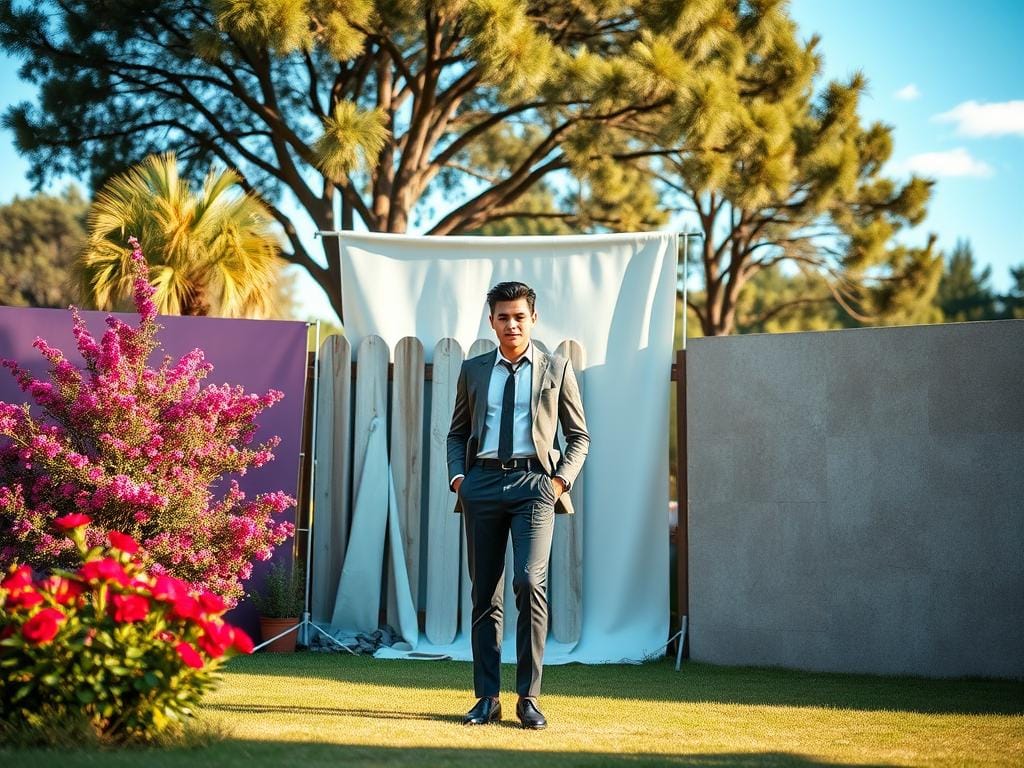
Tone-on-tone versus contrast
Tone-on-tone pairings create harmony for calm, editorial images. For example, an olive dress against a mossy forest works well. A beige sweater with sand dunes also keeps the scene cohesive.
Contrast is better when you want the subject to pop. A bright cobalt jacket against dark sand draws attention. A white shirt against a stormy sky also highlights the face.
Guiding clients on outfits for locations
Give clients clear advice for each location. For beaches, suggest breathable fabrics in midtones to avoid glare. For urban shoots, recommend matte textures and solid colors to prevent reflections.
For fields and forests, advise against bright greens that blend with foliage.
Wardrobe by lens approach
Match clothing to your lens plan. Environmental portraits need layered outfits and props that tell a story. Shallow portraits require simple silhouettes and solid colors.
Ask clients to avoid reflective or shiny materials under strong sun. This prevents hotspots.
Small props and movement to animate a backdrop
Use hats, scarves, chairs, or a lightweight blanket to give subjects something to do. Props create natural gestures and break static poses. Request slow, intentional movement to add life to the frame.
Practical shoot-day tips
- Test outfits on location during scouting to see how colors read with available light.
- Position the subject forward and use lens blur to separate clothing from busy backgrounds.
- Keep a neutral change layer like a denim jacket or shawl for quick tonal fixes on set.
These guidelines help you style portraits with wardrobe, color, and composition. They ensure strong styling and reliable outdoor photoshoot tips. They work across common outdoor portrait locations and help clients look their best.
Common location pitfalls and quick fixes on the shoot
Outdoor shoots have fast problems that need simple fixes. Use outdoor photoshoot tips to save time and keep clients happy. A good plan and tools can make a tricky location great.
Dealing with harsh midday sun and unwanted shadows
Midday sun makes contrast harsh and causes squinting. Move the subject to open shade or have the sun at their back for soft light. If no shade is available, use a 5-in-1 reflector to fill in shadows.
Never use an on-camera flash; it looks cheap and flat.
Fixing green casts from foliage and tricky mixed lighting
Green from leaves can change skin tones. Set a custom white balance or shoot a gray card for correction. When sun and shade mix, add a subtle off-camera strobe or a warm reflector to balance tones.
Portable backdrops can also help when foliage is too close.
How to manage busy backgrounds and distractions during the session
Busy backgrounds take away from your subject. Move the subject away from the background and use a long lens to blur it. If time is short, use a polyester backdrop or an urban wall panel to isolate the sitter.
During location scouting, note simple surfaces and clearings for quick use.
| Problem | Quick Fix | Gear |
|---|---|---|
| Harsh midday sun causing squinting and deep shadows | Move to open shade, backlight subject, or use reflector for fill | 5-in-1 reflector, neutral diffuser, collapsible shade |
| Green cast from foliage | Set custom white balance or use gray card; add warm fill | Gray card, warm reflector, in-camera white balance tools |
| Mixed lighting (sun + shade) | Balance with subtle off-camera fill or controlled strobe | TTL flash or small strobe, lightweight stand, pocket softbox |
| Busy background with distracting elements | Increase subject-background distance, use long lens or portable backdrop | 70–200mm lens, 85mm prime, portable backdrop kit |
| Unstable stands on uneven terrain | Use sandbags, ground stakes, or water-safe backdrop supports | Sandbags, tripod leg spikes, water-safe backdrop fabric |
Make a short checklist for location scouting to mark problem spots. Track which locations need extra gear or a specific time. Keep your tips simple and practice quick fixes until they’re second nature.
Composition and posing to integrate subject and backdrop
Good portraits start with the subject in front of the background. Look for clearings, edges, or simple buildings. This lets the person be the main focus.
Choose poses that fit the location. Sit on benches or cafes for a seated pose. Lean against walls with graffiti for a cool look.
Walking and gentle movements add life to photos. Use lenses and distance to control what’s in the picture.
Posing tips that leverage the setting
Keep poses simple to let the background shine. Turn the body slightly for better angles. Look for soft light to avoid harsh shadows.
Add small props like scarves or hats. They add movement and make poses look natural. Encourage natural movements for candid shots.
For city shots, use nearby seating or railings. This makes the scene feel real.
Using wide-angle environmental portraits versus tight shallow portraits
Wide-angle lenses tell a story about the place. They’re great for editorial and lifestyle shots. Make sure the subject is in the foreground to avoid distortion.
Use telephoto lenses for close-up shots. This blurs the background and focuses on the face. Balance the distance to get nice bokeh without losing the scene.
Framing techniques: leading lines, negative space, and foreground elements
Leading lines guide the viewer to the subject. Negative space makes the mood stand out. It’s perfect for simple outdoor settings.
Shoot through branches or flowers for depth. This adds a cinematic feel. Match poses to the scene, like a relaxed lean in a doorway.
| Goal | Technique | When to Use |
|---|---|---|
| Showplace environment | Wide-angle lens, subject in foreground, include context | Editorial, lifestyle, location-based branding |
| Isolate the subject | Telephoto lens, wide aperture, increase subject-background distance | Headshots, intimate portraits, busy backgrounds |
| Create depth | Foreground elements, layered composition, shallow depth of field | Fields, forests, urban scenes with texture |
| Guide viewer | Leading lines, directional posing, eye-line alignment | Streets, paths, architectural settings |
| Maintain flattering light | Position subject to catch soft sky light, use reflectors when needed | Midday shoots, mixed lighting, backlit scenes |
Delivering a sellable gallery: workflow from shoot to client-ready images
Start each outdoor photoshoot with a plan. Look for good light and the right lens. This helps get one great portrait early.
Use open shade or golden hour when you can. Avoid too much flash. Take pictures of both wide scenes and close-up portraits. This lets clients see the setting and focus on the subject.
Make sure your gear is stable on uneven ground. Test your camera and lens before the shoot. A Canon EOS R5 with a 28–70mm lens at f/2 works well.
Take test pictures at the start to check the light and setup. Use your phone’s GPS or Lightroom to mark where you took pictures. This helps with future shoots or client requests.
Send outfit notes to clients before the shoot. This saves time on wardrobe changes during the session.
Edit your photos with care. Fix lighting and color issues. Then, make small changes to keep the look natural and flattering.
Choose 10–20 photos that show both the setting and the subject. Arrange them to tell a story. When you share the photos, include high-resolution and web versions. Add captions with location and time for each photo.
FAQ
How do I choose outdoor portrait locations that actually sell?
Why does the backdrop influence clients’ buying decisions?
What are the evergreen goals for outdoor portrait shoots?
What do US clients typically expect from outdoor portrait photography?
How can I scout locations like a pro using my phone?
Why should I scout at the same time of day I’ll shoot?
How do quick test frames help during scouting?
What makes golden hour and open shade ideal for portraits?
How can I avoid direct sunlight on my subject’s face?
When should I use a reflector or subtle fill flash outdoors?
How do lens choice and distance affect backgrounds and blur?
What aperture should I use to balance subject separation and context?
How do I handle coastal and beach backdrops without blowing out water or making the subject squint?
What safety and gear tips apply to wet-surface and windy shoots?
When do forests make good backdrops, and how do I avoid green casts?
How can fields and flowers improve depth in portraits?
How does season and foliage color affect skin tones?
How do I use urban walls and graffiti without letting them dominate the image?
What are best practices for working in public urban spaces?
When should I bring a portable backdrop on location?
How do I stabilize lightweight stands on uneven terrain?
How do I compose subject, backdrop, and environment together for cinematic results?
What wardrobe advice helps portraits read better against outdoor backdrops?
How can small props or movement improve a static backdrop?
How do I fix harsh midday sun or unwanted shadows on the spot?
What quick fixes correct green casts or mixed lighting during a session?
How do I manage busy backgrounds and distractions during the shoot?
What posing tips help integrate the subject with different backdrops?
When should I choose wide-angle environmental portraits versus tight shallow portraits?
What framing techniques improve depth and composition outdoors?
How do I deliver a sellable gallery from shoot to client-ready images?
Struggling to get consistent photography clients?
Get More Photography Clients