
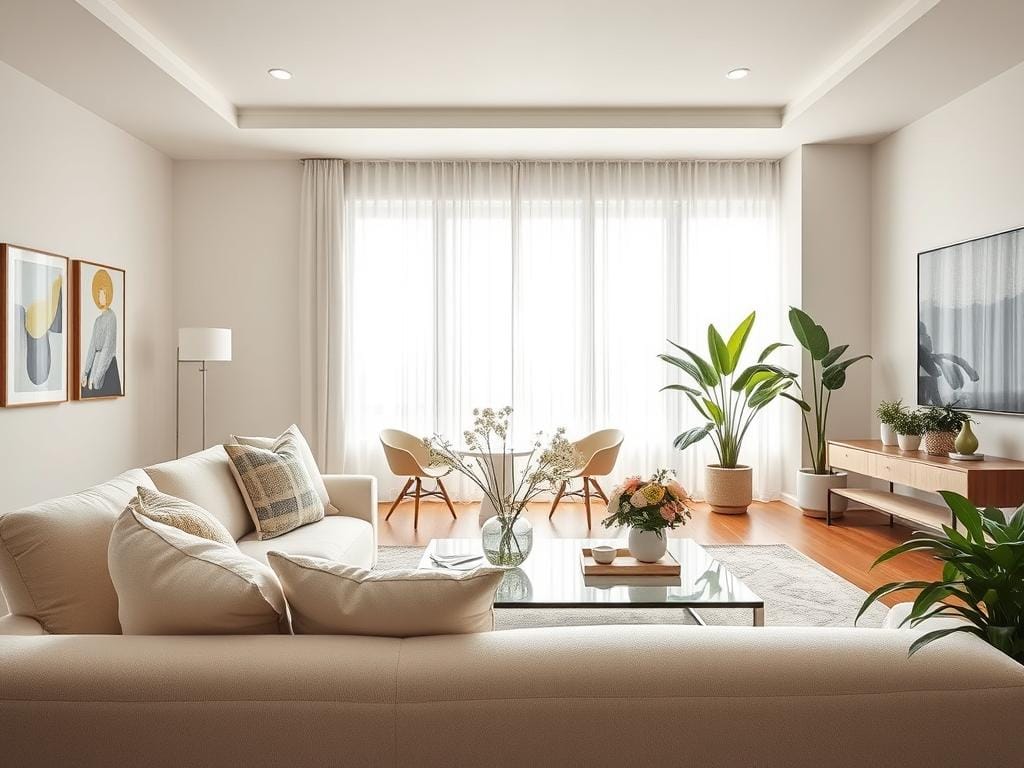
Are you tired of listings that don’t get any clicks? It’s because the photos look small, dark, or cramped. Open the curtains, step into corners, and forget the flash. The right light and angle sell a space more than an expensive camera.
In this short section, you’ll learn simple moves. Natural light, corner shots, basic staging, and careful wide-angle lens use. These tips make rooms look bigger and brighter. They grab attention on Zillow, Instagram, and MLS feeds.
Key Takeaways
- Light and angle beat gear: open windows, turn on interior lights, and avoid pop flash.
- Shoot from corners and doorways to create depth and make rooms look bigger.
- Use a modest wide-angle lens for wider shots but avoid extreme distortion; keep verticals straight.
- Declutter and stage simply: remove personal items, plump cushions, and float furniture when needed.
- Plan a quick walk-through before shooting to map sun angles, key views, and transitional shots.
Essential real estate photography tips for brighter, bigger-looking rooms
Great listing photos start with simple choices. Use natural light, clear clutter, and pick angles that show depth. These tips make spaces look larger and feel inviting.
Why these practices matter for listings
Well-shot images grab attention on Zillow, Realtor.com, and social feeds. Clear, bright photos show a home’s flow and key features. This builds trust and interest before a showing.
Primary goals: space, light, and truthful representation
Prioritize three targets: show true scale, boost light without overexposure, and represent the property accurately. Use a wide-angle lens carefully, stage thoughtfully, and fix exposure in post. These tips protect credibility while improving perceived size.
How this improves buyer engagement and click-through rates
Listings with natural, well-composed images get more clicks and shares. Social platforms favor photos that feel real and clear. Better images help viewers picture living patterns, which can increase listing CTR and lead quality showings.
| Focus | Practical action | Expected benefit |
|---|---|---|
| Light | Open curtains, turn on warm interior lights, shoot during soft daylight | Balanced exposure, fewer blown-out windows, inviting mood |
| Space | Remove excess furniture, float key pieces, shoot from corners | Enhanced perceived size, clearer room flow |
| Composition | Keep verticals straight, use tripod, include transitional shots | Professional look, accurate perspective, stronger trust |
| Editing | Adjust exposure, recover shadows, correct perspective lightly | Polished images without misrepresentation |
| Listing impact | Use high-quality thumbnails and full-size gallery images | Higher engagement, proven property photography benefits, possible to increase listing CTR |
Preparing the space: declutter, stage, and plan the shot
Good property photography starts before you even take a photo. First, walk through each room to see the light, angles, and how people move. Use this to plan your shots, focus on important rooms, and mark how spaces link together.
Make a checklist to declutter rooms. Remove personal photos, mail, cords, trash, and loose clothes. Put away remotes, clear counters, and close cabinets to hide clutter.
Staging is key for scale and context. Use furniture that fits the space to create zones. Place furniture away from walls to add depth. Add simple decor like a plant or throw to show lifestyle without cluttering the photo.
For empty homes, think about virtual staging or add a few pieces of furniture. This makes rooms look bigger and more inviting. Keep things natural and lived-in for photos that feel social, but avoid too much styling.
Follow your plan to get the most important shots. Take photos of the outside, kitchen, living and dining areas, master bedroom, and biggest bathroom. Also, capture the media room, patio, and pool if there is one. Take corner shots and views between rooms to show how they connect.
| Shot Category | Priority | Notes for Setup |
|---|---|---|
| Exterior (front/rear) | High | Clear drive, remove toys, angle for curb appeal, check sky exposure |
| Kitchen | High | Clear countertops, hide trash bins, place fresh fruit or cutting board for scale |
| Living/Dining | High | Float sofa, plump cushions, use rug to define seating area |
| Master Bedroom | High | Straighten bedding, remove excess furniture, add subtle bedside decor |
| Bathroom | Medium | Clear countertops, hang fresh towels, hide toiletries and trash cans |
| Patio/Balcony/Pool | Medium | Arrange seating, clear grill area, remove hoses and pool toys |
| Transition Shots | High | Capture flow from kitchen to living, bedroom to ensuite, and entry to main living area |
Keep a small toolkit handy: a step ladder, lint roller, cord clips, and basic staging items. These help you quickly follow your checklist and keep your photos consistent.
Maximizing natural light and smart artificial lighting
Natural light is the best for making listings look good. Open curtains and blinds. Then, turn on all lights to get rid of dark spots. This makes photos look real and welcoming.
Look at the light when you walk through. Check the windows, shiny spots, and shadows. Days with no sun or early morning/late afternoon sun are best. They give even light and avoid harsh shadows.
Use LED lights when natural light isn’t enough. LEDs give steady light that makes camera settings easier. Place them behind the camera or at 45-degree angles to lift shadows without losing texture.
Don’t use flash for indoor photos. Flash makes things look flat and unnatural. If you need more light, use softboxes or diffusers on LED panels. This keeps the light soft and natural.
For bright windows and dark rooms, use bracketing or HDR. Lock your camera on a tripod, take different exposures, and mix them. This keeps the windows bright and the colors right.
| Situation | Quick action | Lighting tool | Why it works |
|---|---|---|---|
| Bright room, harsh midday sun | Close sheer curtains; favor late-afternoon slot | Natural light + small LED fill | Diffuses highlights and tames contrast for cleaner edits |
| Overcast day | Open all curtains fully; use ambient light | Natural light only | Even illumination reduces need for bracketing |
| Dim interiors with small windows | Turn on lamps; position LEDs at 45° | LED continuous lights with diffusers | Fills shadows while keeping natural feel |
| Rooms with mixed color temps | Match LED color temperature to bulbs; set white balance | Color-correctible LEDs | Keeps skin tones and furnishings true to life |
| Wide shot with bright window view | Bracket exposures; blend in post | Tripod + HDR workflow | Preserves exterior view while showing interior detail |
Small steps during the shoot make a big difference. Follow a consistent lighting workflow: assess, open, switch on, supplement with LEDs when needed, then bracket exposures. This routine reinforces key interior photography tips and helps listings stand out with honest, bright images.
Wide angle real estate photos without the distortion pitfalls
Wide angle photos make spaces feel bigger. But too much distortion can lose trust. Use careful methods to show size without distorting doors, windows, or furniture. This keeps the look natural, helping listings perform well and building buyer confidence.
Choosing the right lens or smartphone wide lens
Choose a lens that’s not too wide. For cameras, a 16–24mm lens works well. For phones, recent iPhones and Samsung Galaxy models have good wide lenses for property shots.
Use a smartphone wide lens with HDR or bracketing apps for bright spots and shadows. Keep the camera steady and use a tripod for better shots.
How to avoid exaggerated proportions and maintain realism
Shoot from corners or doorways to show both walls and depth. Keep the camera level. For living rooms, shoot from chest height. For kitchens, shoot from hip height to avoid clutter.
Fix lens distortion and keystoning in editing with gentle tools. Avoid over-correcting to keep things believable. Real estate photos should be true to life to build trust with buyers.
When panoramas or stitch methods beat extreme wide-angle
If wide shots distort, try a vertical panorama or stitch frames. Hold the phone vertically for tall rooms or horizontally for long spaces.
Panoramas keep things in proportion and offer high resolution. They’re great for prints and close-ups. Use them when single shots distort doors, cabinets, or fixtures.
| Scenario | Recommended Option | Why it works |
|---|---|---|
| Small living room with tight corners | 16–24mm lens or smartphone wide lens | Captures depth without dramatic stretching; shows flow between walls |
| Tall foyer or vaulted ceiling | Vertical panorama | Preserves vertical lines and detail from floor to ceiling |
| Large open-plan kitchen and living area | Stitch multiple frames or moderate wide-angle | Maintains scale of furniture and avoids exaggerated foreground |
| Listings for social sharing with mobile-first viewers | Smartphone wide lens with HDR app | Fast workflow, natural look, strong exposure balance |
Shooting angles and composition that create depth
Good angles and clear composition make spaces feel bigger. Start by planning how rooms connect. This is key for making photos stand out.
Walk each room to find the best views. Corners and doorways show off rooms and paths. Don’t forget outdoor areas like patios or balconies.
Change camera height to match the room. Chest height is good for big rooms. Hip height works for sofas and beds. Higher shots are better for kitchens and dining.
Keep the area in front of the camera clean. Big things too close can mess up the view. Move things so we can see more of the room.
Take pictures that show how rooms connect. This helps viewers see the whole house. It’s like a virtual tour.
Use real framing for photos. Avoid tricks that don’t show the real space. Honest framing builds trust and shows off the layout.
Controlling exposure: HDR, bracketing, and exposure locking
Getting the right light in real estate photos is hard. You need to balance bright spots with dark areas. Here are some tips to help you get it right.
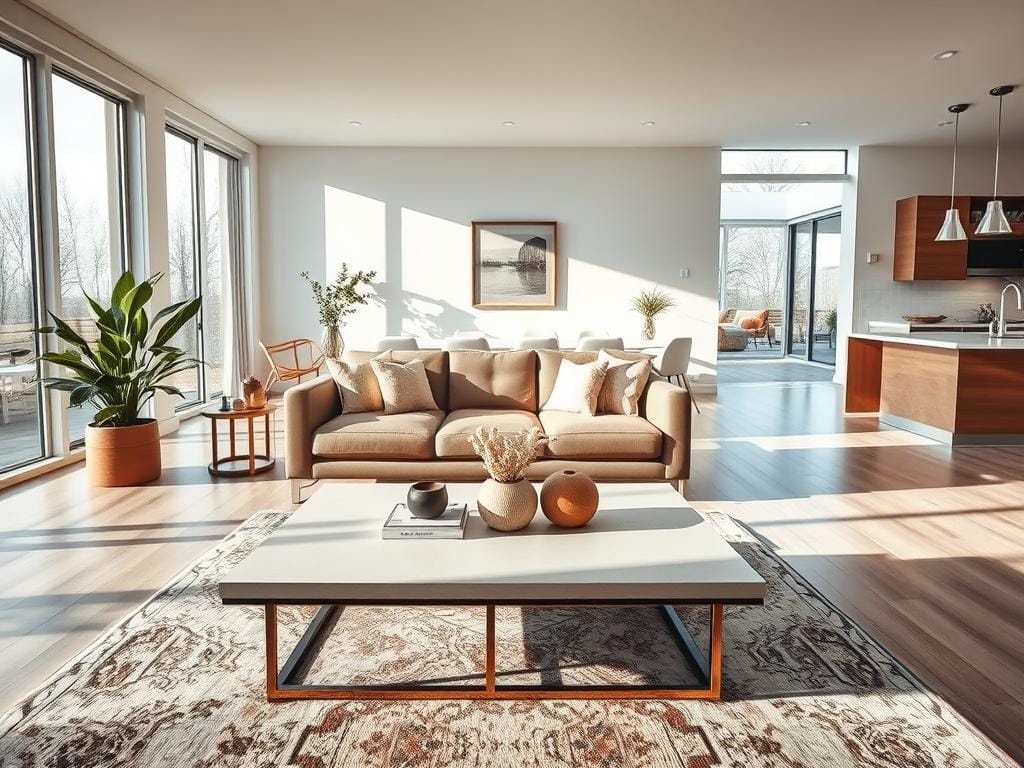
When to use HDR and multi-exposure bracketing
Use HDR for photos with bright windows and dark rooms. Bracketing takes many photos at different light levels. Then, you can mix them to get the best light in every part of the photo.
For most rooms, take 3-5 photos at 1 to 2 light levels apart. For very bright or dark spots, take 7 photos. A tripod helps keep the photos steady, making the final mix look better.
Tap-to-focus and exposure locking techniques
On smartphones, tap the screen to set focus and light. Then, lock the light so it doesn’t change when you move the camera. This keeps the photo looking good.
On cameras, meter the light on a middle area and lock it. Use manual light settings for the same light every time. This keeps the photo looking the same.
Practical tips to prevent blown-out windows while preserving interior detail
Take photos in the morning, late afternoon, or on cloudy days. This reduces the difference between light and dark. Open curtains and use natural light instead of flash to avoid harsh colors.
Take many photos and mix them later to get the best light. Use software like Adobe Lightroom or Photomatix. Keep the changes small to keep the photo looking real.
| Situation | Recommended Capture | Why it works |
|---|---|---|
| Bright windows, dark room | 5-frame bracketing at 1 EV steps on tripod | Preserves outdoor detail and recovers interior shadows during HDR merge |
| Even lighting, minimal contrast | Single exposure with controlled exposure locking | Simpler workflow and natural results when range is within sensor capability |
| Smartphone listing shots | Smartphone HDR mode plus tap-to-focus and exposure locking | Quick capture with balanced highlights for MLS and social media |
| Very high contrast (sunset or bright exterior) | 7-frame bracketing, tripod, merge and tone-map conservatively | Captures extreme range while avoiding blown highlights and muddy shadows |
Keeping verticals straight and perspective natural
Straight verticals make a listing look trustworthy. A room with leaning walls seems smaller and dishonest. Use simple habits on set to keep lines straight and show the space’s true size.
Why verticals matter
Buyers and agents judge photos fast. Photos with correct perspective look professional and reliable. When verticals are straight, viewers trust the size and scale without doubt. This is a key real estate photography tip that boosts value.
Tools and in-camera technique
Begin with a level and a tripod that has a bubble level. Use the 3×3 grid to place doors and windows on vertical lines. Always aim the camera perfectly horizontal to keep walls straight in the frame. For stairwells or tall exteriors needing tilt, accept a slight angle and plan a keystoning fix later.
Post-processing restraint
Use perspective correction carefully. Small tweaks remove converging lines and bring back natural depth. Too much correction makes rooms look flat and odd. Apply a gentle keystoning fix so the space feels real.
For quick setup and lens choices, check out practical guides. They cover keeping verticals straight and other interior photography tips in detail. See a useful walkthrough at real estate photography tips.
Tripod and stabilization tricks for crisp interior shots
Sharp interiors sell homes. A steady setup keeps detail clear in HDR and bracketed sequences. It improves merge quality and reduces wasted reshoots. Use the right gear and habits to make each frame count without relying on heavy post-processing.
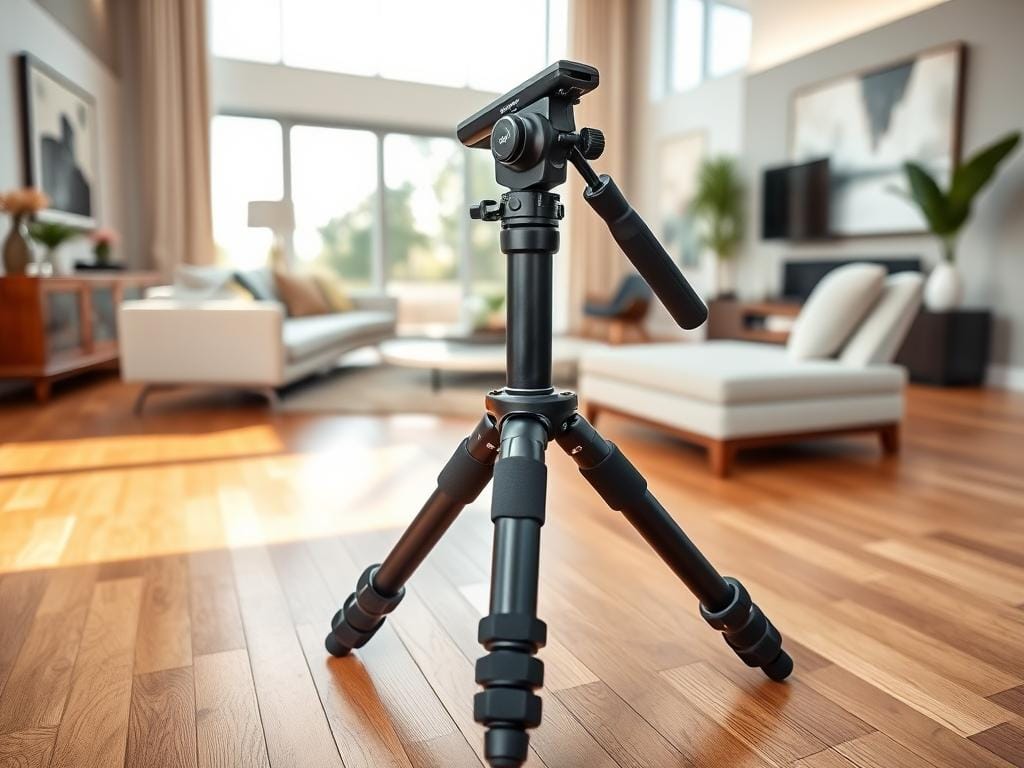
Benefits of steady support for low light and bracketed frames
A tripod for real estate photography gives consistent framing across exposures. This steadiness helps HDR software align bracketed shots cleanly. It preserves fine texture in low light.
You get cleaner windows, crisper countertops, and fewer motion artifacts. Lock the camera down for multiple frames.
Budget-friendly tripod and smartphone tripod picks
Affordable tripods from Manfrotto, Vanguard, and AmazonBasics provide stable legs and quick-release plates without a huge cost. Many models offer center-column adjustment and compact footprints for tight rooms.
For phone shoots, a smartphone tripod mount like Joby or Ulanzi paired with a compact aluminum tripod gives repeatable composition. A simple smartphone tripod prevents tilt between frames and speeds up workflow for agents and listing photographers.
Stabilization tips and steady-hand methods when a tripod isn’t possible
When a tripod is not available, use stabilization tips to limit blur. Brace the phone or camera on a counter, chair back, or window sill. Rest elbows on your torso and exhale before you press the shutter.
Raise ISO minimally and use continuous LED lighting to allow faster shutter speeds without harsh flash. Enable image stabilization in-camera, lock exposure and focus, and use a two-second timer or remote trigger to remove finger shake.
Practical workflow reminders
Always check level and verticals after mounting gear. For bracketed HDR, shoot vertically and keep the composition identical across frames. Label or tag shots in-camera to speed editing.
Pick a reliable tripod for real estate photography when possible. Use a smartphone tripod for quick social-ready images. Apply these real estate photography tips and stabilization tips to reduce retakes and deliver crisp, trustworthy interiors.
Post-processing to brighten, straighten, and sell the space
Good post-processing makes a great photo even better. Start by making the exposure edits clean. Then, adjust contrast and white balance to keep colors natural.
Recover shadows and be careful with highlights. This keeps window details and textures clear.
Use a consistent workflow in Adobe Lightroom or Capture One. Make exposure edits the same for all rooms. This makes each room look the same to buyers.
Mix bracketed shots for tricky windows. This keeps interior details while showing the view and sky.
Next, fix perspective and straighten images. Small changes remove keystone and keep walls straight. This makes the room look real without warping it.
Fix lens distortion too. This keeps furniture and fixtures looking real.
Be honest with your edits. Too much color, HDR, or cloning can lose trust. If you use virtual staging, say so in the listing. Honest edits build trust and get more views.
Quick checklist for final delivery:
- Apply exposure edits and contrast balance per image.
- Adjust white balance to match natural light.
- Recover shadows, preserve window highlights via HDR merges when needed.
- Perform perspective correction and lens distortion fixes with restraint.
- Save a web-optimized version and a high-res master for agents.
These steps work with real estate and interior photography tips. Consistent editing and honest presentation increase views. They make properties look great without lying.
Practical on-the-day checklist and quick fixes
Before you start shooting, walk the property. Run this on-the-day checklist: open curtains and blinds, turn on all interior lights. Remove trash and visible cords, plump cushions, straighten linens, and pull excess furniture so rooms feel open.
Shoot corner views and transitional shots—like kitchen to living room, bedroom to ensuite. Also, include outdoor spaces in your sequence to give viewers context. These real estate photography tips focus on quick, visible gains that help listings perform better on portals and social media.
Use a tripod and set the camera level for HDR or bracketing to handle bright windows. When a tripod isn’t possible, stabilize on steady furniture. On smartphones, use tap-to-focus and exposure lock.
If wide-angle distortion is an issue, try vertical panoramas or stitch panoramas instead. These quick fixes for property photos preserve realism while maximizing perceived space and light.
Bring small gear for fast adjustments: LED continuous lights for shadow fill, a lint brush, and a small step stool for higher angles. Do minor post adjustments right away—brightness, white balance, shadow recovery, and perspective straightening—so images are shareable and natural-looking.
Following these interior photography tips ensures ready-to-upload images that attract attention and increase click-through rates.
FAQ
What simple steps make rooms look bigger and brighter in listing photos?
Why do these tips matter for real estate listings and social posts?
What is the best walk-through shot plan to cover key rooms and transitions?
What should I remove or tidy before shooting?
How should I stage a room to show scale and depth?
How do I maximize natural and artificial light for interiors?
When should I add LED continuous lights and how do I place them?
Which wide-angle lens or smartphone option should I use for real estate photos?
How do I avoid exaggerated proportions with wide-angle photos?
When are vertical panoramas or stitched images better than extreme wide-angle shots?
What shooting angles and camera height create the most depth?
How and when should I use HDR or bracketing for interiors?
What are practical tap-to-focus and exposure locking tips for smartphones?
How do I prevent blown-out windows while keeping interior detail?
Why must verticals stay vertical and how do I keep them that way?
What tools and techniques correct perspective without overdoing it?
When should I use a tripod and what are good affordable options?
What steady-hand alternatives exist if I don’t have a tripod?
What essential post-processing edits should I make for real estate photos?
How do I avoid over-editing while making images attractive?
What quick actions should I take on the day of the shoot?
Which rooms and features should always be photographed?
How do I prepare photos for social media to get better engagement?
Are smartphone photos good enough for listings and social channels?
What tools or services help speed up post-processing and ensure consistency?
Struggling to get consistent photography clients?
Get More Photography Clients