
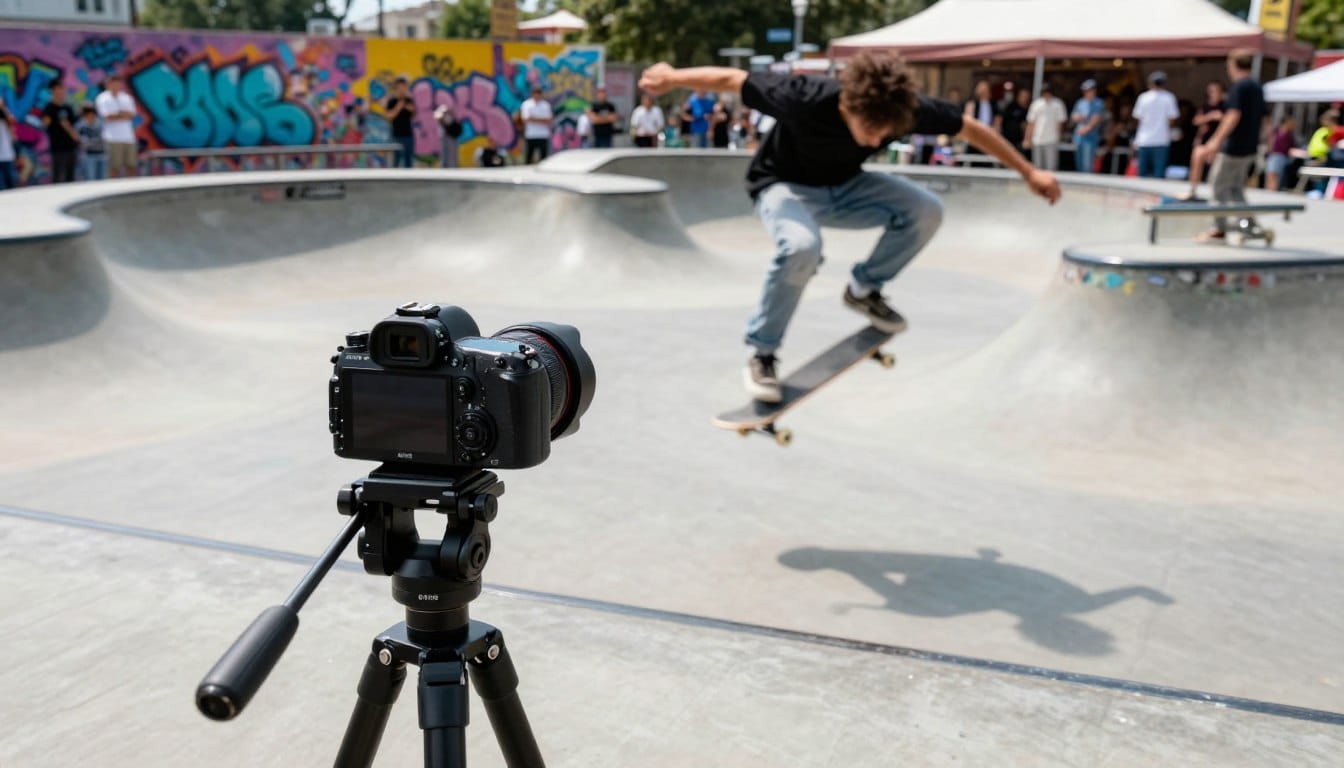
Have you ever wondered why some photos look crisp and clear while others seem to be a blurry mess? The answer often lies in understanding the relationship between your camera’s settings and the moments you want to capture.
Many new photographers feel overwhelmed by the technology in their hands. However, with a little knowledge about how to manipulate your camera’s settings, you can gain control over your creative output. Mastering the right techniques will help you transform your images from ordinary to extraordinary.
In this guide, we will explore the concept of exposure and how it relates to capturing stunning photographs. Whether you’re looking to freeze fast-moving subjects or create a soft, dreamy effect, understanding these settings is essential. By the end, you’ll be ready to ditch the “Auto” mode and confidently create images that truly stand out.
Understanding the Fundamentals of Shutter Speed
Why do some photographs capture every detail while others fall flat? The answer lies in understanding shutter speed. This essential element determines how long your camera’s sensor is exposed to light. Think of it as a curtain that opens and closes, allowing light to hit the sensor.
Modern cameras, like the Sony A7 IV or Canon R6, often use electronic shutters. This means they can turn the sensor on and off with incredible precision. Understanding this concept is vital for mastering your camera.
The exposure triangle consists of shutter speed, aperture, and ISO. These three elements work together to control the brightness of your images. If you allow too much light in, your photo may become overexposed. Conversely, not enough light results in an underexposed image that lacks detail.
By grasping how these settings interact, you can elevate your photography. Move beyond simple snapshots and start making intentional choices that enhance your creative vision.
Why Shutter Speed Matters for Capturing Motion
Ever notice how some images pop with clarity while others appear hazy and indistinct? The element of time plays a crucial role in this difference. It determines whether a moving subject looks sharp or blurred in your final photograph.
When shooting handheld, even the slightest movement can lead to camera shake. This is why a speed of 1/60s is often recommended as the minimum for maintaining clarity. If you go slower than this, your images may suffer.
To effectively capture motion, you must balance your shutter speed with the speed of your subject. If your shutter speed is too slow, it can result in blurry photos, diminishing the impact of your shot.
By mastering this setting, you gain the power to control how motion is represented. This transforms simple photography into a dynamic storytelling tool, allowing you to convey movement in a compelling way.
| Shutter Speed | Effect on Motion | Recommended Use |
|---|---|---|
| 1/60s | Minimum for handheld clarity | General photography |
| 1/250s | Freezes moderate motion | Sports, action shots |
| 1/1000s | Freezes fast action | Wildlife, fast-moving subjects |
| 1/15s | Creates motion blur | Artistic effects |
Common Shutter Speed Settings and Their Creative Effects
Ever wondered how some pictures seem to dance with energy while others look frozen in time? The choice of shutter speed can dramatically influence the feel of your images. Understanding how to manipulate this setting opens up a world of creative possibilities.
Using a fast shutter speed, such as 1/500s or faster, allows you to freeze action. This is essential for sports photography or capturing birds in flight. A speed of 1/125s serves as a standard starting point for freezing basic movement. When you utilize a fast shutter, you let in less light, which helps prevent overexposure in bright conditions.
Conversely, a slow shutter speed of 1/60s or slower allows you to capture motion blur. This creates a sense of movement in your images that feels artistic and intentional. Choosing the right speed depends entirely on your subject; a runner requires a fast shutter to stay sharp, while a waterfall benefits from a slow shutter to look silky.
Experimenting with these settings helps you understand how to manipulate the amount of light and motion in every single shot you take. Remember, the key to stunning photography lies in mastering these shutter settings.
| Shutter Speed | Effect | Best Use |
|---|---|---|
| 1/500s | Freezes fast action | Sports, wildlife |
| 1/125s | Standard for basic movement | General photography |
| 1/60s | Captures motion blur | Artistic effects |
| 1/15s | Creates dramatic motion blur | Waterfalls, light trails |
For more insights, check out this article on shutter speed in photography.
shutter speed tips for beginners: Unlocking Creative Photography
Understanding how to choose the right settings is crucial for elevating your photography. When you first start out, these shutter speed tips will help you move away from the “Auto” mode that often hinders your creative vision.
One reliable choice is 1/125s. This speed is perfect for photographing people walking or capturing general street scenes in daylight. It balances sharpness with the light needed for a clear image.
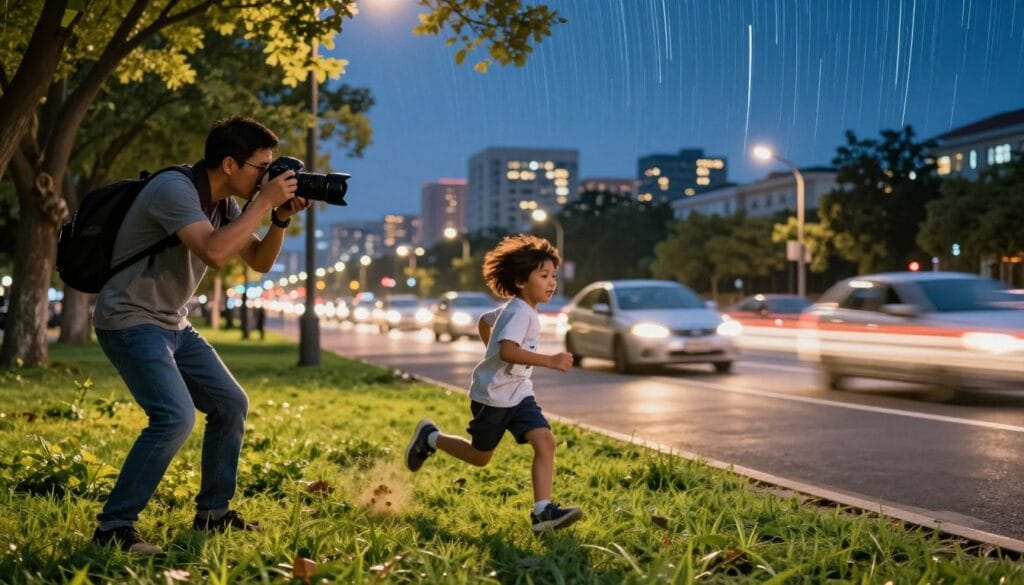
Everyday photography, like snapping your kids playing or pets running, offers an excellent opportunity to test how different speeds affect your final photos. Each time you adjust your shutter speed, you are making a choice about how time is represented in your image.
By consistently experimenting with these settings, you will develop an intuitive sense of what speed is required for various scenes. This practice will enhance your ability to capture stunning moments.
Exploring Shooting Modes: Shutter Priority and Manual Controls
Every photographer’s journey begins with understanding how to manipulate their camera’s settings. Among these, the Shutter Priority mode stands out as a fantastic way to gain control over your images. This mode, labeled as S on Nikon and Sony cameras or Tv on Canon cameras, allows you to adjust the speed while the camera automatically manages the aperture for proper exposure.
Shutter Priority mode is an excellent starting point. It enables you to focus on speed while the camera handles other settings. Once you feel confident, transitioning to Manual mode can provide complete control over ISO and aperture as well.
Many photographers mistakenly believe that Manual mode is only for professionals. In reality, even experts often rely on Shutter Priority for quick adjustments in the field. The command dial on your camera, typically near your index finger or thumb, makes changing the shutter speed easy and intuitive.
Mastering these modes empowers you to make creative decisions, ensuring your vision shines through in every shot.
| Mode | Description | Best Use |
|---|---|---|
| Shutter Priority (S/Tv) | Control speed while the camera adjusts aperture | Action shots, fast-moving subjects |
| Manual | Full control over all settings | Creative photography, challenging conditions |
| Auto | Camera makes all decisions | Casual snapshots |
For more insights on camera settings, check out this informative article on manual camera settings.
Creative Techniques: Using Shutter Speed for Stunning Effects
Could the difference between ordinary and extraordinary photos be in your control over the camera? Understanding how to use shutter speed creatively can elevate your photography. Here are some techniques that can transform your images.
Capturing Silky Waterfalls and Light Trails
To capture silky water, use a slow shutter speed between 1/2s and 10s. This requires a sturdy tripod to prevent unwanted blur. Similarly, light trails can be created with a long exposure of 5s to 30s, turning car headlights into beautiful streaks of color.
Tips for Panning and Action Shots
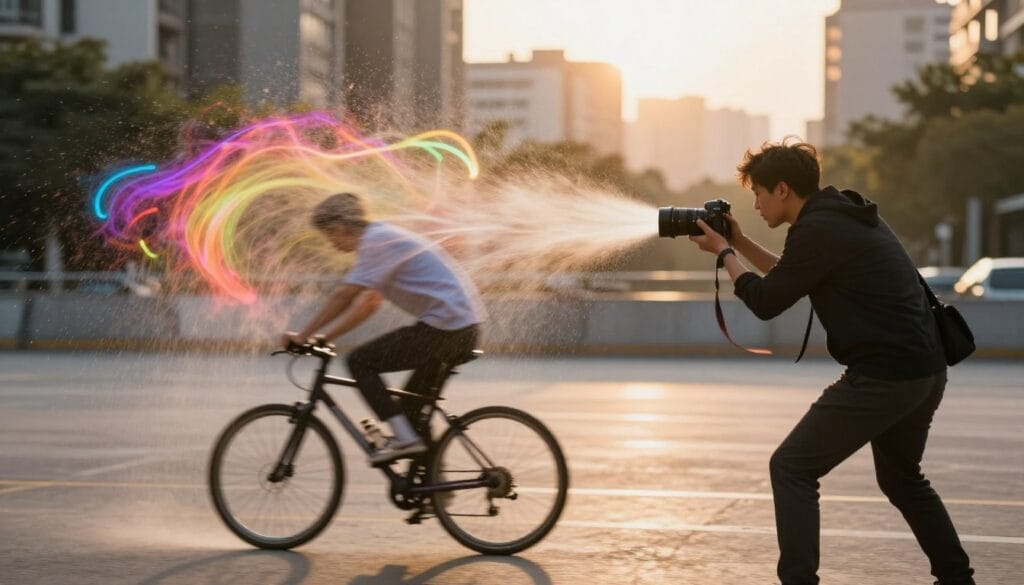
Panning is another exciting technique. Use a medium-slow speed, such as 1/15s to 1/60s, to keep a moving subject sharp while blurring the background. When shooting long exposures, a tripod is essential. Even the slightest movement can ruin the intended motion blur effect.
These techniques demonstrate how shutter speed is not just a technical setting, but a powerful creative tool for transforming ordinary scenes into stunning works of art.
Troubleshooting Shutter Speed Challenges
Have you ever faced challenges with your camera settings that led to frustrating results? Understanding how to troubleshoot common issues is essential for any photographer. This knowledge can help you achieve the clarity and creativity you desire in your images.
When dealing with exposure, it’s crucial to recognize the effects of your settings. If your image appears too dark, it may indicate that your shutter speed was too fast. This prevents sufficient light from reaching the sensor through the lens. On the other hand, an overexposed photo suggests that your shutter speed was too slow, allowing excessive light to flood the sensor and wash out details.
To prevent camera shake in low light conditions, consider the reciprocal rule. This rule states that your shutter speed should be at least 1 divided by the focal length of your lens. For example, if you’re using a 50mm lens, aim for a shutter speed of at least 1/50s. If you still experience shake, using a lens with built-in image stabilization can help. Increasing your ISO can also allow for a faster shutter speed.
Mastering these troubleshooting techniques is vital for balancing your settings in challenging lighting conditions. By understanding how to adjust your approach, you can enhance your photography skills and capture stunning images.
Balancing Aperture, ISO, and Shutter Speed for Perfect Exposure
Every photographer seeks that perfect moment, yet achieving it often hinges on the delicate balance of three critical settings: aperture, ISO, and shutter speed. Each of these elements plays a vital role in determining how much light enters your camera and ultimately affects your exposure.
When shooting video, the 180-Degree Rule becomes essential. This guideline suggests setting your shutter speed to double your frame rate. For instance, if you’re filming at 24 frames per second (fps), a shutter speed of 1/50s is ideal. This technique helps maintain a natural motion blur that enhances the cinematic quality of your footage.
Here are some strategies to help you master light control:
- When capturing video at 60fps, set your shutter speed to 1/120s for smooth playback.
- If you’re shooting at 120fps for slow-motion effects, aim for 1/250s to keep motion looking natural.
- Using Kolari Pro ND Filters can help manage light effectively, especially when you want to use a wide aperture or a slow shutter in bright conditions.
By understanding the interplay between these three settings, you can take control of both the technical quality and the creative expression of your images. As you experiment, you’ll discover how to manipulate light and time, transforming your photography into a powerful storytelling medium.
Real-World Applications: From Daylight to Nighttime Scenes
Understanding how to adapt your settings to different lighting conditions is vital in photography. As a photographer, you will often face varying scenarios that require different approaches. Knowing when to shoot handheld or use a tripod can make all the difference in your images.
In bright daylight, shooting handheld is typically effective. However, as the light diminishes, a tripod becomes essential. This tool stabilizes your camera, allowing for longer exposures without the risk of blur. For instance, consider a sharp handheld portrait at 1/100s versus a blurry long-exposure shot of a city street at night.
Handheld Shooting Versus Using a Tripod
When capturing moving subjects, your shutter settings must be high enough to freeze them. This holds true whether you are using a tripod or not. Each shot presents a chance to learn; reflect on why a particular setting succeeded or failed based on your subject and lighting.
- Always aim for a minimum of 1/50s with a 50mm lens, while a 200mm lens requires at least 1/200s.
- In daylight, handheld shots are often clear, but low light demands a tripod for stability.
- Analyze your results to understand how different settings affect your outcomes.
- Whether in a sunny park or a dim alley, mastering these real-world applications ensures you make the right choice every time.
Final Thoughts on Mastering Shutter Speed in Photography
As you delve deeper into photography, the choices you make can significantly shape your artistic vision. Mastering shutter speed is a journey that transforms your photography from simple snapshots into intentional, creative expressions of your unique perspective.
Key Takeaways: Remember that shutter speed controls light and motion. Use fast speeds to freeze action and slow speeds for artistic blur. Always utilize a tripod for long exposures to avoid unwanted shake.
FAQ:
- What is a good speed for new photographers? Start at 1/125s.
- Is higher speed always better? No, it depends on your creative goal.
- What about portraits? Use 1/100s or faster for clarity.
- How does shutter speed affect video? Follow the 180-Degree Rule for natural motion.
Disclaimer: This guide is for educational purposes. Always test your specific camera gear in a safe environment before attempting professional shoots.
References: Sony, Canon, Kolari, International Living.
By practicing these techniques, you will eventually stop thinking about the settings and start focusing entirely on the beauty of the scene in front of you. Keep experimenting with your camera, and remember that every great photographer started exactly where you are today, learning one setting at a time.
FAQ
What is shutter speed in photography?
How does shutter speed affect exposure?
What is the difference between fast and slow shutter settings?
How can I choose the right shutter setting for my photos?
What is shutter priority mode?
When should I use manual mode?
How can I capture silky waterfalls using shutter settings?
What are some tips for preventing camera shake?
How do I balance aperture, ISO, and shutter settings?
Should I shoot handheld or use a tripod at night?
Struggling to get consistent photography clients?
Get More Photography Clients