
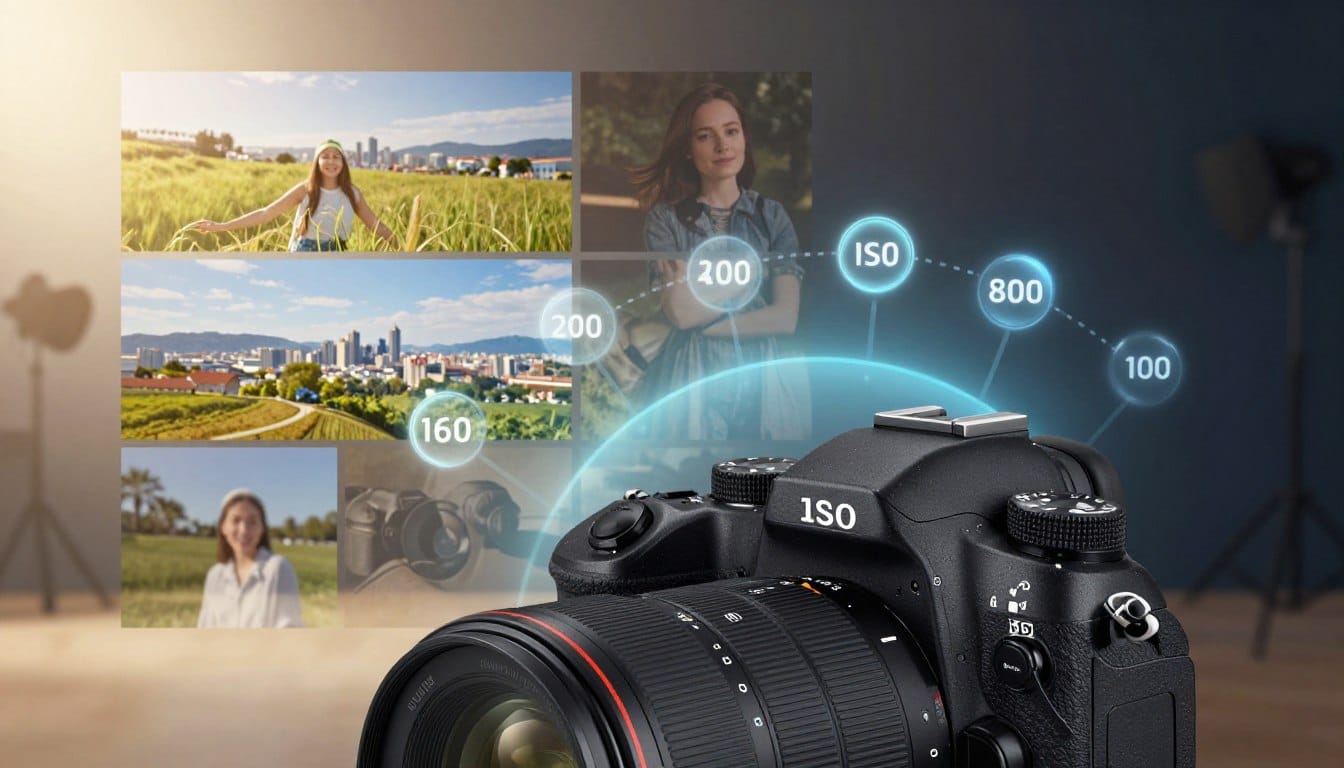
Have you ever taken a picture that turned out blurry or dark, leaving you frustrated and wondering what went wrong? You are not alone! Many budding photographers face this common struggle.
Understanding the crucial role of your camera’s settings is the first step toward capturing stunning images. The three pillars of exposure—aperture, shutter speed, and the often-misunderstood ISO—work together to create the perfect shot. By mastering these elements, you can move away from the frustration of grainy or dark photos.
In this guide, we will explore how to balance your exposure triangle. Whether you are shooting in bright sunlight or a dimly lit room, knowing your gear is key to achieving creative control. We aim to simplify complex jargon into actionable steps that you can apply immediately.
Get ready to elevate your photography skills and enjoy the creative journey ahead!
Key Takeaways
- Many photographers experience challenges with blurry or dark images.
- Mastering camera settings is essential for better photo quality.
- Understanding the exposure triangle is key to capturing stunning images.
- Learning to adapt to different lighting conditions enhances creativity.
- This guide breaks down complex concepts into simple steps.
Understanding the Challenge: When Your Photos Turn Out Blurry or Noisy
Have you ever captured a moment only to find it marred by blurriness or excessive noise? This common issue often arises when your camera struggles to gather enough light for a clean exposure.
Using your base ISO, typically ISO 100 on most modern cameras, can help ensure the highest image quality by minimizing digital noise. If your images resemble static, it’s likely that you’ve pushed your settings beyond what your sensor can handle.
Blurry photos frequently result from a shutter speed that is too slow to freeze action or compensate for natural hand-held camera shake. Understanding the relationship between your sensor and available light is crucial for maintaining clarity and sharpness in your final image.
| ISO Setting | Noise Level | Recommended Use |
|---|---|---|
| ISO 100 | Low | Bright Conditions |
| ISO 400 | Moderate | Indoor Lighting |
| ISO 1600 | High | Low Light Situations |
“Understanding your camera settings is the first step to capturing stunning images.”
Immediate Fixes to Improve Your Exposure in 60-90 Seconds
Imagine capturing a breathtaking scene, only to find that your camera failed to do it justice with a poor-quality image. In just 60-90 seconds, you can make quick adjustments to enhance your exposure.
Start by checking your shutter speed. Ensure it aligns with your current focal length to avoid blurriness. Next, understand how much light is entering your lens. If your image appears too dark, consider opening your aperture wider before raising your ISO, which can introduce unwanted digital noise.
A quick glance at your histogram can reveal if you’re losing detail in shadows or clipping highlights. With practice, these adjustments will become second nature, allowing you to focus on capturing the moment rather than fiddling with your camera.
Mastering iso settings for photography: Balancing Light and Noise
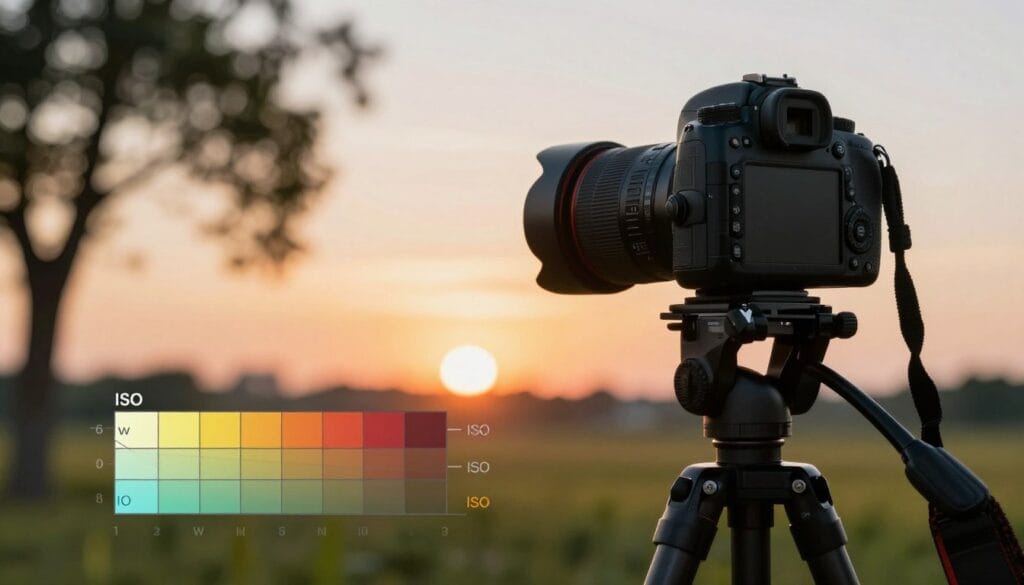
Capturing a stunning image often requires navigating the delicate balance between light and noise. Each adjustment in your ISO number doubles the sensitivity of your camera’s sensor. This can be beneficial for faster exposure in low-light situations, but it can also introduce unwanted noise.
Mastering your ISO settings involves understanding this trade-off. As you increase the ISO, your sensor becomes more sensitive, allowing you to capture images in dim environments. However, this can lead to a degradation in quality, making it essential to find the right balance.
Many photographers view a higher ISO as a necessary compromise when trying to freeze motion in challenging lighting. It’s crucial to align the sensitivity of your sensor with your creative vision for each shoot.
By grasping how these elements interact, you can make informed choices that enhance the overall aesthetic of your work. The key is to prioritize the look and feel of your final images while effectively managing noise levels.
| ISO Number | Sensitivity | Recommended Use |
|---|---|---|
| ISO 100 | Low | Bright Light |
| ISO 800 | Moderate | Indoor Events |
| ISO 3200 | High | Night Scenes |
“Understanding how to balance light and noise is essential for any photographer.”
Demystifying ISO: What It Means and How It Works
Have you ever wondered how photographers achieve stunning images under various lighting conditions? Understanding the concept of ISO is crucial to mastering your camera’s performance.
ISO stands for the International Organization for Standardization. This organization sets global standards for measuring the sensitivity of camera sensors. Knowing how this affects your photos can greatly enhance your skills.
Before the current organization standardization was adopted, systems like ASA in the U.S. and DIN in Germany were commonly used. These historical methods paved the way for the modern approach we rely on today.
Your camera sensor operates similarly to traditional film. The sensitivity determines how much light is needed for a proper exposure. This leads us to the concept of the exposure triangle, which includes ISO, shutter speed, and aperture. Understanding how these elements work together can improve your photography.
- The International Organization for Standardization provides a framework for measuring sensor sensitivity.
- Historical systems like ASA and DIN were predecessors to the current organization standardization.
- Your camera sensor functions like film, adjusting sensitivity for exposure.
- The exposure triangle links aperture, shutter speed, and ISO into a cohesive system.
- Understanding your sensor’s role helps predict camera behavior in different lighting conditions.
For more insights on this topic, check out this article on ISO in photography.
How to Adjust Your Camera: Changing ISO Settings on the Fly
The ability to swiftly adapt your camera settings can make the difference between a stunning shot and a missed opportunity. In environments where light changes rapidly, knowing how to adjust your ISO is crucial.
Most modern digital cameras feature a dedicated button or menu shortcut for quick ISO adjustments. This allows you to toggle sensitivity without navigating through complex menus.
If you own a professional camera, consider assigning the ISO function to a custom dial. This will provide faster access when time is of the essence.
Always remember that changing your ISO will require you to re-evaluate your shutter speed and aperture to maintain balanced exposure. With enough practice, these adjustments become second nature, enabling you to capture the moment seamlessly.
| ISO Setting | Adjustment Method | Recommended Scenario |
|---|---|---|
| ISO 100 | Low sensitivity | Bright daylight |
| ISO 400 | Moderate sensitivity | Indoor events |
| ISO 1600 | High sensitivity | Low light situations |
High vs. Low ISO: Trade-Offs, Image Quality, and Practical Tips
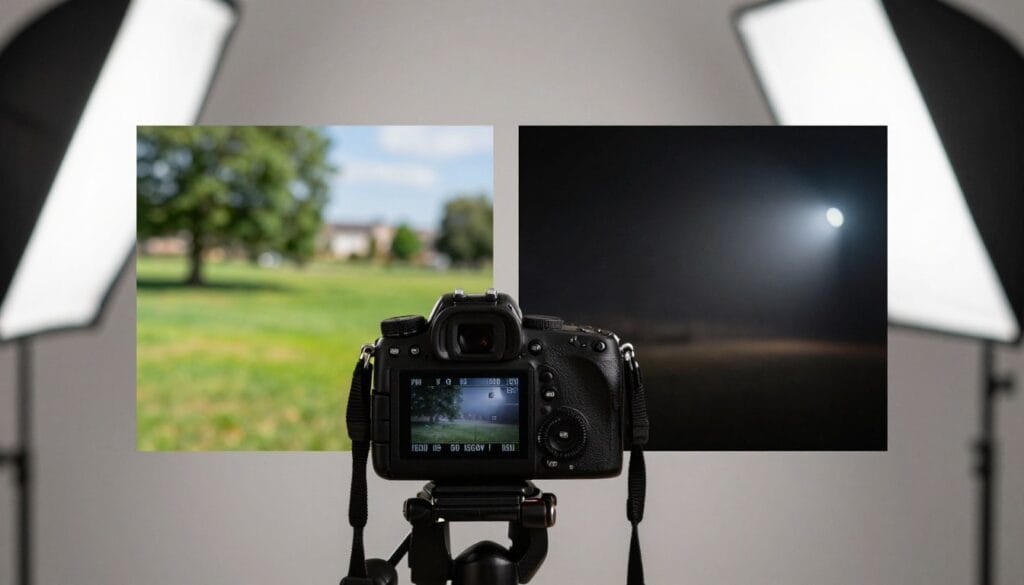
Choosing the right ISO can be crucial in achieving the desired results in your images. The decision between a high ISO and a low ISO largely depends on the lighting conditions and the speed of your subject. A low ISO maximizes image quality, but you must ensure adequate light to avoid motion blur.
For instance, ISO 800 is a common starting point for indoor events with moderate light. On the other hand, pushing your camera to ISO 3200 is often necessary for indoor sports, allowing you to use a fast shutter speed to freeze the action.
Relying on auto ISO can be a lifesaver during fast-paced events. However, it’s essential to set a maximum limit to prevent excessive digital noise. Always test your camera’s range to see how much noise you can tolerate in your work.
| ISO Setting | Recommended Use | Image Quality |
|---|---|---|
| ISO 800 | Indoor Events | Moderate |
| ISO 3200 | Indoor Sports | Higher Noise |
| ISO 100 | Bright Light | Low Noise |
“Always test the limits of your specific camera range to see how much noise you are personally willing to accept in your work.”
Advanced Techniques: Managing Noise Without Sacrificing Detail
In the world of photography, managing noise is a crucial skill that can elevate your images. Balancing exposure settings while using higher ISO can lead to unwanted noise, but there are effective strategies to combat this issue.
One popular tool for managing high-ISO noise is Topaz DeNoise AI. This software helps preserve fine detail while reducing noise. Here are some key techniques to consider:
- Proper in-camera exposure is essential, combined with advanced post-processing software.
- Shooting at ISO 3200 often requires noise reduction to maintain a clean image.
- Even at ISO 400 or ISO 800, subtle noise can appear in shadows if exposure is unbalanced.
- Using a tripod allows you to maintain ISO 100, minimizing noise without software intervention.
- Advanced photographers prioritize detail over overly smooth images that appear artificial.
| ISO Setting | Typical Use | Noise Level |
|---|---|---|
| ISO 100 | Bright Light | Low |
| ISO 400 | Indoor Lighting | Moderate |
| ISO 3200 | Low Light | High |
“Managing noise effectively requires a combination of proper in-camera exposure and the use of advanced post-processing software.”
Integrating ISO Settings with Shutter Speed and Aperture Controls
Do you find yourself often wishing for clearer images in challenging lighting conditions? Integrating your ISO settings with your shutter speed and aperture is the secret to achieving consistent results in your professional photography.
When you raise ISO to compensate for low light, be cautious not to introduce excessive noise that can degrade image quality. A fast shutter speed of 1/250s is often necessary to prevent motion blur when photographing people in dynamic situations.
Your aperture controls the depth of field, allowing for creative choices that should be made before finalizing your ISO. By harmonizing these three values, you ensure that your camera sensor receives the correct amount of light for every shot.
| Setting | Value | Effect |
|---|---|---|
| ISO 100 | Low | Minimal noise |
| ISO 800 | Moderate | Good balance |
| ISO 3200 | High | More noise |
By mastering the exposure triangle, you can elevate your photography skills. Understanding how to adjust these settings will help you capture stunning images, regardless of the situation. Learn more about shooting in manual mode
Wrapping Up Your ISO Journey with Confidence and Creative Control
Wrapping up your journey with ISO settings opens up a world of creative possibilities. Mastering these settings transforms how you perceive light and shadow in your work. Remember, high ISO numbers are not just a fix for poorly exposed images; they can be a powerful tool for artistic expression.
Always prioritize your shutter speed and aperture to ensure sharp subjects and desired depth of field. Modern cameras are capable, but thoughtful adjustments are essential for achieving the highest quality images. Testing your gear will build confidence, allowing you to capture stunning photos in any condition, from bright sunlight to low light scenarios.
Lastly, keep in mind that photography involves technical variables that may vary with different equipment. Always test your camera before important assignments to ensure optimal performance.
FAQ
What is ISO in photography?
How does ISO affect image quality?
When should I use a high ISO setting?
What is the best ISO setting for outdoor photography?
How can I reduce noise in high ISO images?
What is the exposure triangle?
How do I change ISO settings on my camera?
Is it better to use auto ISO or manual adjustments?
What is base ISO?
Can I use high ISO for night photography?
Struggling to get consistent photography clients?
Get More Photography Clients